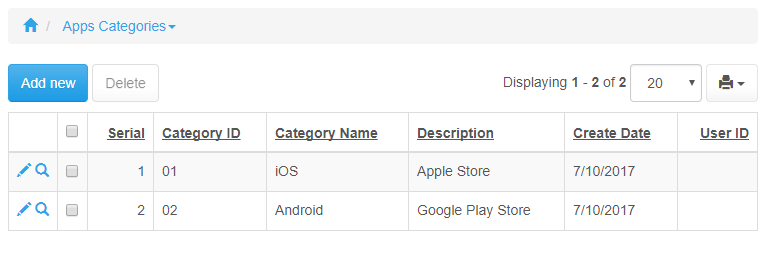
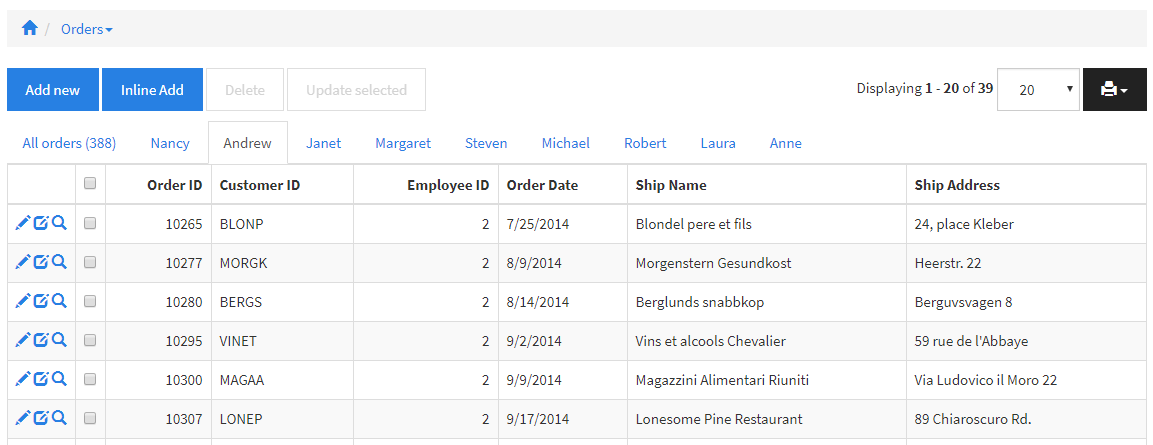
PHPRunner normally provides Delete selected for removing one or more records from a List page. In some applications, it is more convenient to place a Delete action directly on each row next to the standard View, Edit or Copy actions.

This tutorial shows how to add a row-level Delete button, ask for confirmation, delete the correct record and reload the List page afterward.

Before you add the button

Place the custom button inside the grid row. This is important because the button needs access to the current record so the server-side code can determine which row should be deleted.

You will also need to know the table name and the key field used to identify each record. In the example below, the table is categories and the key field is CategoryID. Replace those values with the corresponding names from your project.

Security note: a custom button that calls DB::Delete() does not automatically inherit all of the behavior of PHPRunner’s standard Delete action. Make sure the button is only available to users who are allowed to delete the corresponding records, and add any additional permission checks your application requires.

1. Add the button to the grid

Open the List page in Page Designer and insert a button. Move the button into one of the grid columns so it becomes part of each record row.

Choose a button style that matches the other row actions, such as View or Edit. Select an appropriate delete or trash icon from the icons available in your current PHPRunner version.
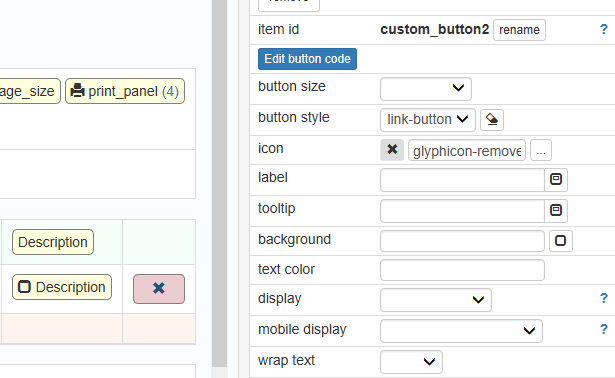
Delete button added to a PHPRunner grid row in Page Designer

Continue Reading "Add a Delete Button to Each Row in a PHPRunner Grid" →

Page Designer is one of the most amazing new features in version 10 but as any new functionality it also introduces a learning curve. In this article we are answering the most common questions people ask us about Page Designer usage.

If you have Page Designer questions that are not answered in this article feel free to ask here in comments or via helpdesk.

How to work with additional pages?

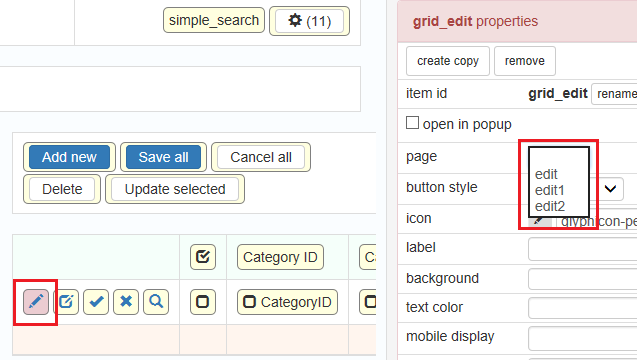
In version 10 you can add extra pages of the same type. For instance, besides the main edit page you can have extra edit pages named edit1, edit2 etc. The big question is how to use these additional pages in your application.

Changing button properties

Since we created multiple edit pages lets see how we can use those. On the List page select Edit button. On the right side using ‘Page’ dropdown select the page this button will open.

Continue Reading "Page Designer: Frequently Asked Questions Answered" →

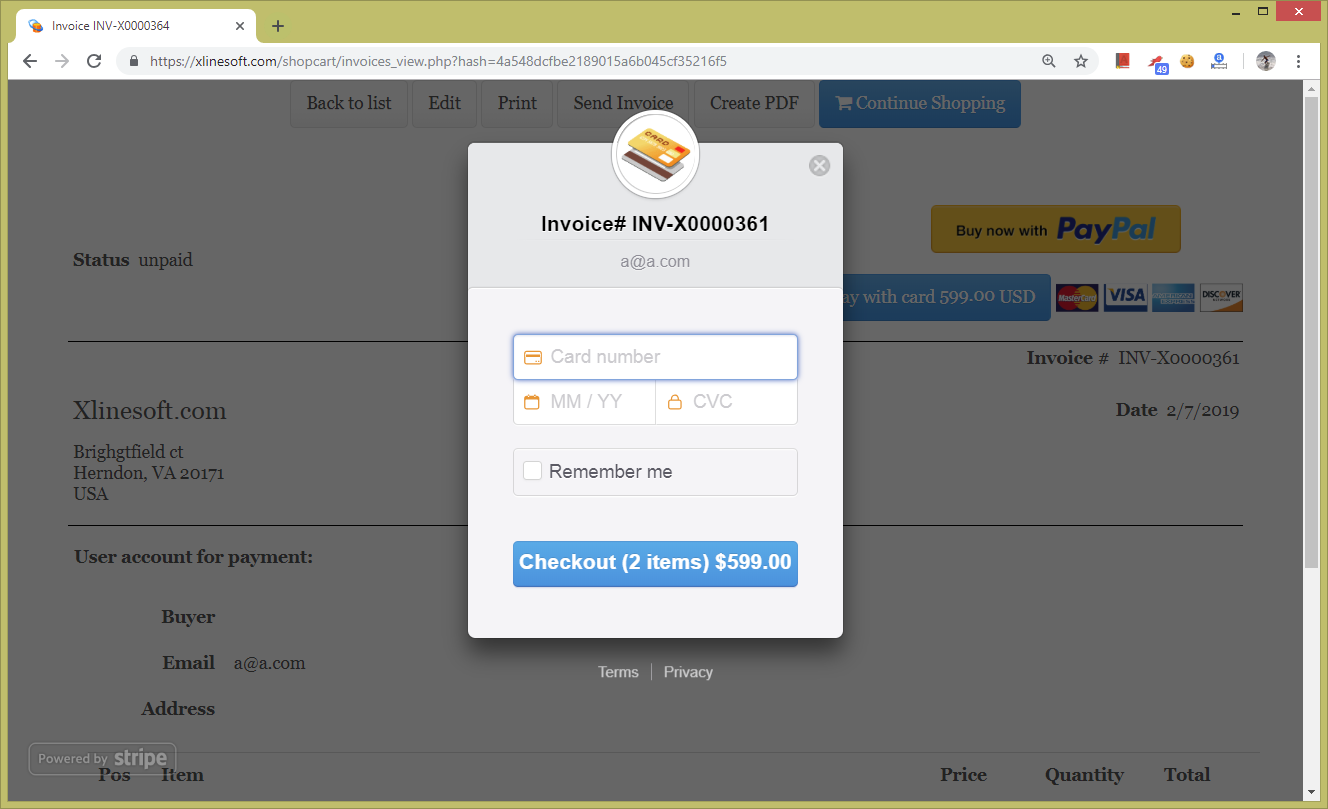
If you purchased or upgraded PHPRunner, ASPRunner.NET or ASPRunnerPro recently you may have noticed that we are using a new checkout solution based on Invoice template. In this article we will show you steps required to add this kind of functionality to your project.

To see how it works live proceed to PHPRunner purchase page, select Edition, enter your email address, add more options on the next screen and click Continue.

Continue Reading "Using Invoice template as a checkout solution" →

Third-party JavaScript components can be integrated into a PHPRunner application without replacing the generated page. The same general approach works for data grids, charts, editors, calendars and many other browser-based components.

The integration usually has five parts:

  1. Add the component’s JavaScript and CSS files to the project.
  2. Add a container to the page where the component will be displayed.
  3. Make the required data available to JavaScript.
  4. Initialize the component after the page is ready.
  5. Add only the CSS needed to make the component fit the rest of the application.

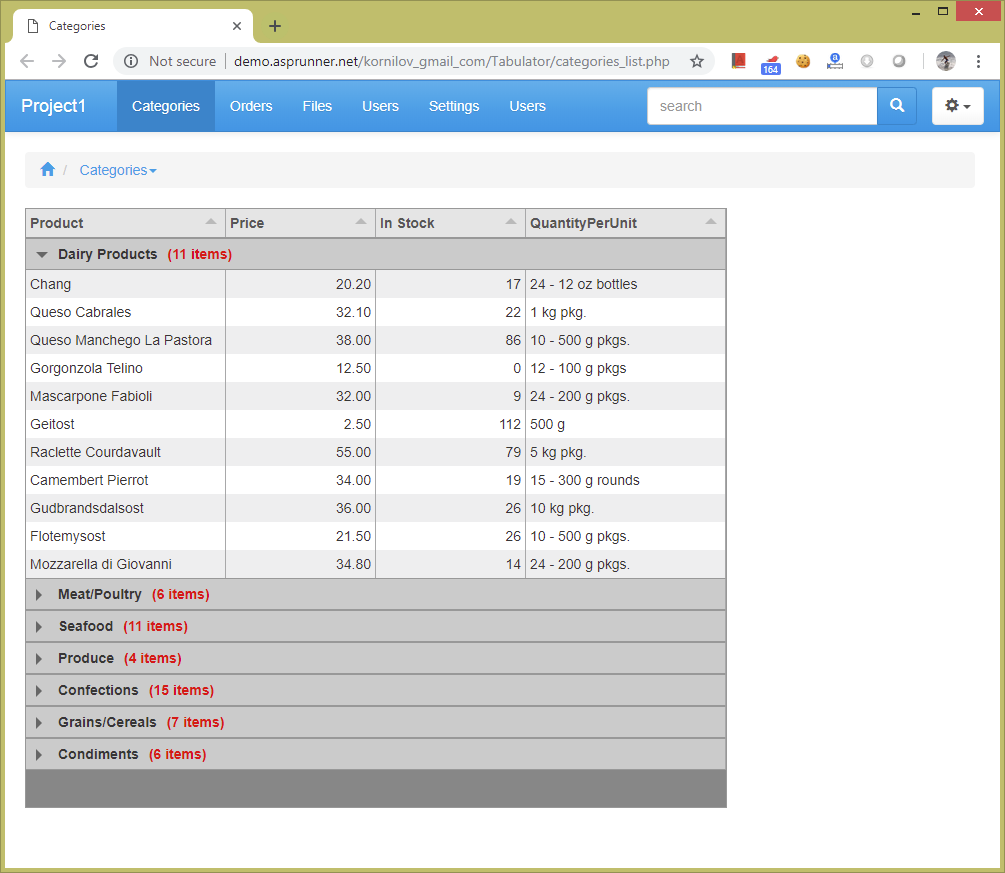
In this tutorial we will use Tabulator, a JavaScript data-grid component, as a practical example. The important part is the integration pattern rather than Tabulator itself.


Tabulator data grid integrated into a PHPRunner application

Continue Reading "Integrate Third-Party JavaScript Components with PHPRunner" →

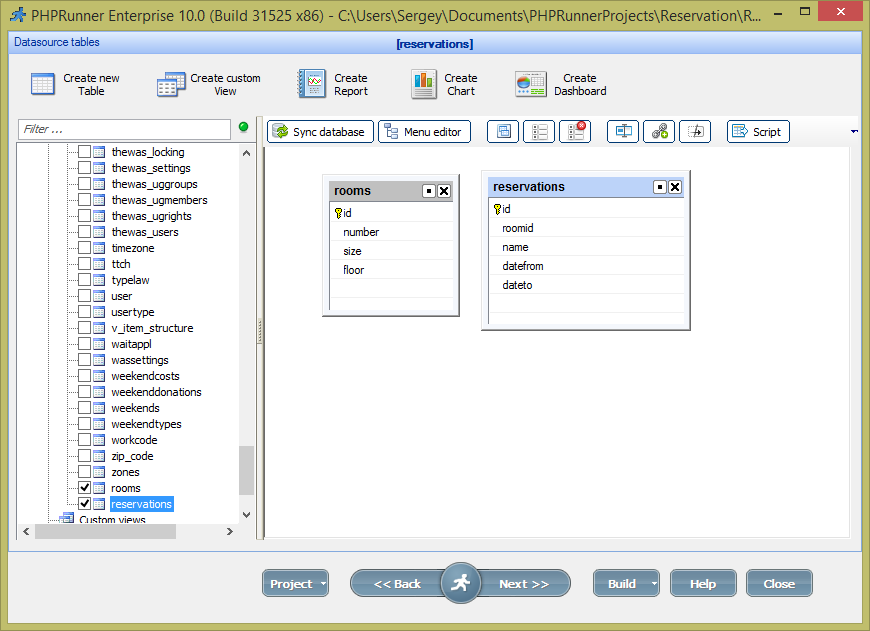
Lets say you run a mini-hotel and need to build a very simple reservation system. In this article we will show how avoid double-booking only showing the rooms that are available for selected date range. Similar approach can be applied to any other reservation system i.e. if you need to build conference rooms reservation app.

In our database we need two tables, Rooms and Reservations.

Continue Reading "Building a hotel reservation system" →

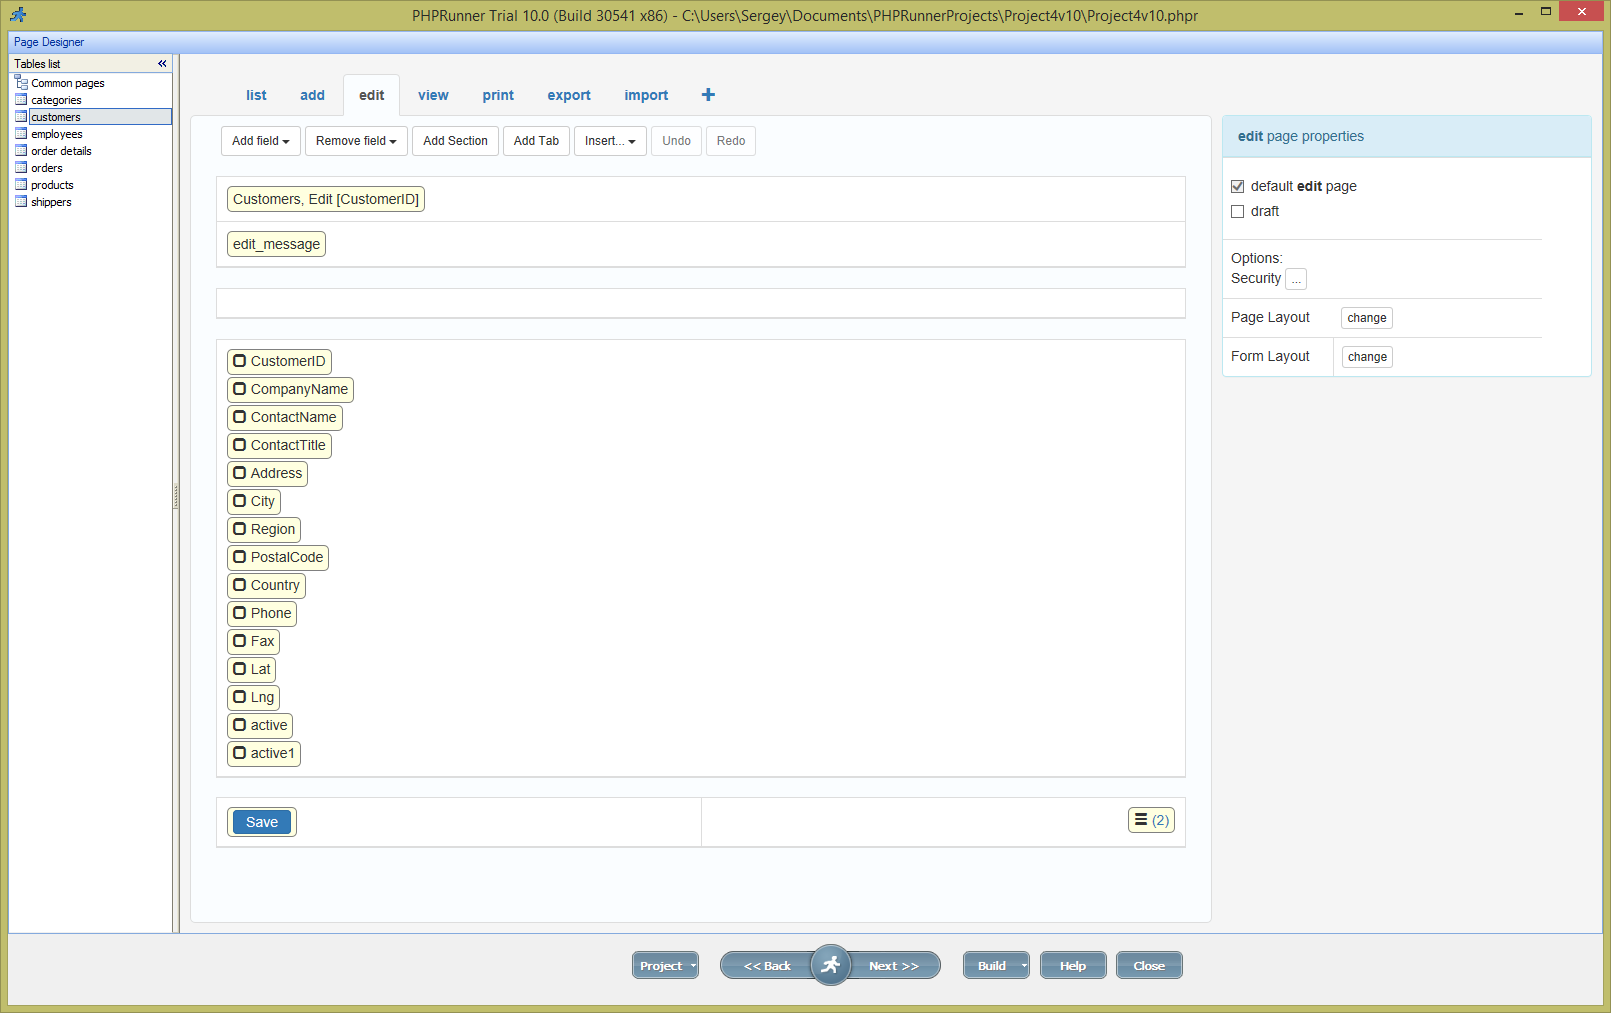
Version 10 makes creating multi-column forms easier. In previous versions you needed to select layout on Style Editor page. In version 10 you can do this right in Page Designer and you can change it at any time without resetting the page. Changes you made to your page will no be lost.

In this article we use Customers table from Northwind database. In Page Designer select Edit page. Here is how it looks by default (all images are clickable):

Continue Reading "Using multi-column design in version 10" →

The code base for the MS SQL server of version 7 was initially sold by the original company Sybase SQL server to the software giant of the cyber space Microsoft. It was the first entry of the Microsoft Company to the database market at the enterprise level. The objective was to compete against other companies like IBM and ORACLE. It was actually Microsoft, Sybase and the Adaptive that originally formed a team to create and launch the very first version of the SQL server 1.0…Continue Reading “All about the History of SQL Server” →