Equipment checkout applications need to do more than store a list of assets. The application should prevent duplicate checkouts, show only actions that match the current asset status, record returns, flag overdue equipment, and let staff find an item quickly.
In this tutorial, we will build that workflow in PHPRunner or ASPRunner.NET and add camera-based QR code scanning. The JavaScript is the same in both products. Server events are provided in PHP and C#.
1. Creating the tables and relationships
This example uses three tables. Adjust the field types for your database if necessary.
Add all three tables to the project. Create master-details relationships from assets.id to asset_checkouts.asset_id and from employees.id to asset_checkouts.employee_id.
Set employee_id to a Lookup wizard that displays employees.full_name. Use fixed lookup values for assets.status, assets.condition, asset_checkouts.condition_out, and asset_checkouts.condition_in.
2. Showing the active checkout on the Assets pages
Open the SQL Query for assets and use the following MySQL query. It adds the due date and employee from the most recent checkout that has not been returned.
Add due_date and employee_id to the Assets List and View pages. Configure employee_id as a Lookup wizard so the employee name is displayed.
3. Adding the Check out button
Open the Assets List page in Page Designer, switch to Advanced Grid, and add a custom button inside the grid. Set its caption to ‘Check out’ and its Item ID to checkout_button. Add the same button to the Assets View page.
Add the appropriate code to the button’s Server section.
PHP
C#
Add this JavaScript to Client After:
4. Saving a checkout
On the Asset Checkouts Add page, keep employee_id, due_date, and notes visible. The remaining values will be set on the server.
Add this code to Before record added.
PHP
C#
Add this code to After record added.
PHP
C#
Add this JavaScript to the Add page’s JavaScript OnLoad event:
5. Adding the Return button
Add another custom button to the Assets List grid and View page. Set its caption to ‘Return’ and its Item ID to return_button.
Add the appropriate code to the button’s Server section.
PHP
C#
Add this JavaScript to Client After:
6. Processing the return
Use the Asset Checkouts Edit page only for returns. Keep condition_in and notes visible and remove ordinary Edit links to this table from other pages.
Add this code to Before record updated.
PHP
C#
Add this code to After record updated.
PHP
C#
Add this JavaScript to the Edit page’s JavaScript OnLoad event:
7. Showing only valid actions
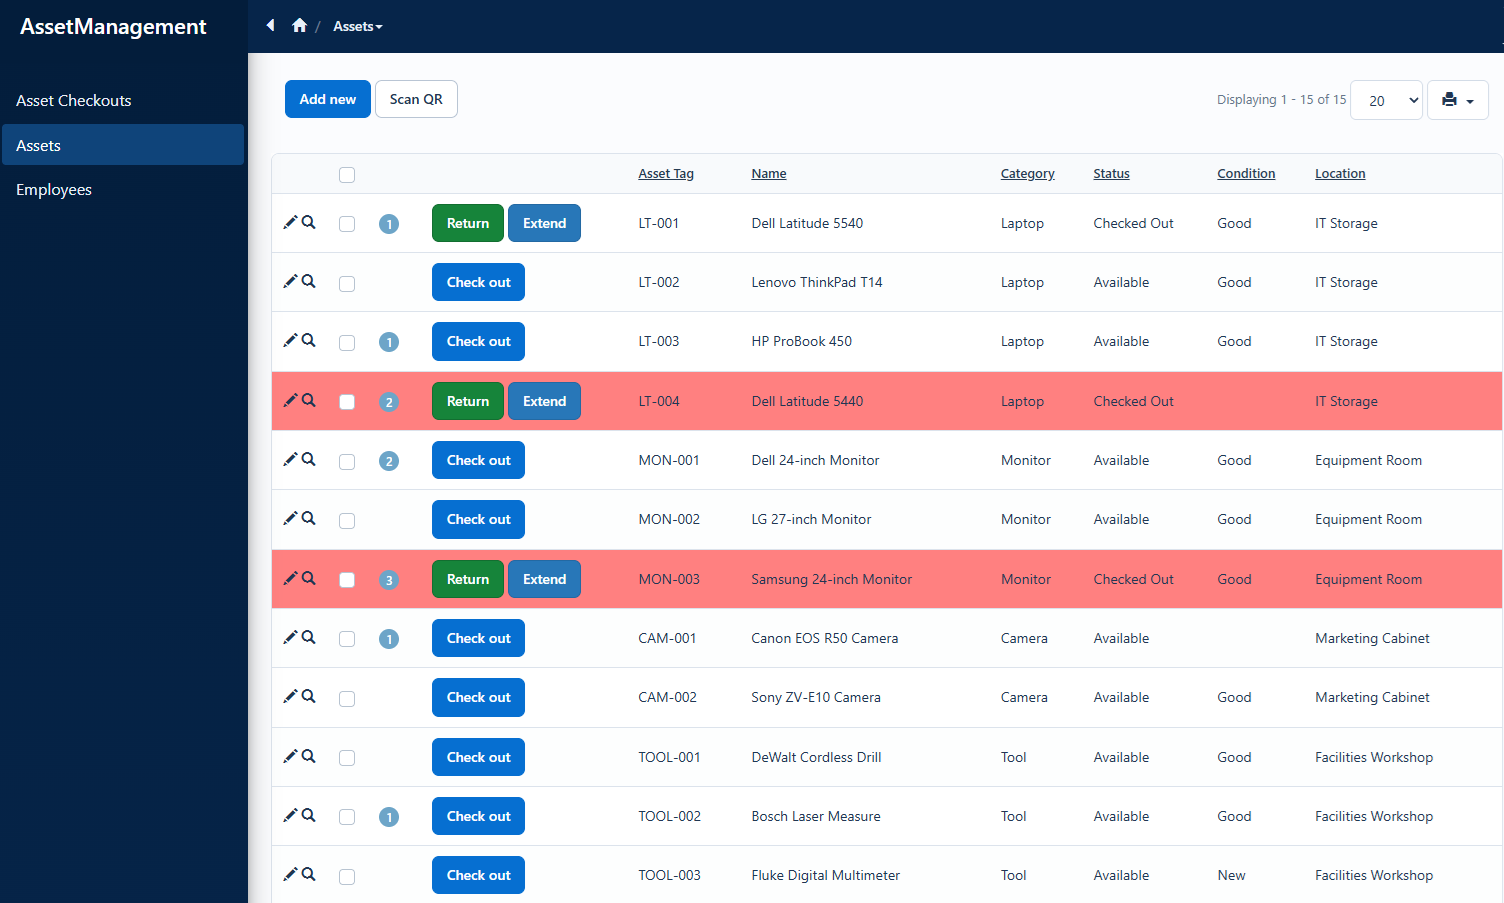
Open Assets List page – After record processed. Use the Item IDs assigned earlier so each row shows only the action that applies to its current status.
PHP
C#
8. Adding camera-based QR scanning
Create QR labels whose encoded value is the corresponding asset_tag. The scanner only needs that value, so the labels can be produced by the application or by a separate label-printing tool.
Add a custom button above the Assets List grid. Set its caption to ‘Scan QR’ and its Item ID to scan_qr_button. Add the following JavaScript to Client Before. The script loads the html5-qrcode library when it is first needed.
Add the appropriate lookup code to the button’s Server section.
PHP
C#
Add this JavaScript to Client After:
Camera access normally requires HTTPS, except during local development. Rebuild the project, open the Assets List page on a phone or laptop with a camera, scan an asset label, and confirm that the correct View page opens. Then test checkout, return, damaged-item handling, conditional buttons, and overdue highlighting.
