What is Docker? Docker is a software platform that allows you to package, distribute, and run applications within self-contained units called containers. These containers include everything the application needs, like code, runtime, and libraries, ensuring consistent execution across different environments.
How this can be useful? There are many possible uses of Docker containers. You can use them for testing for instance. If you have a website that runs on PHP 8.1 and want to make sure that switching to PHP 8.3 doesn’t break anything, you can create a container based on PHP 8.3 and fully test your app there before making a switch on the main website. Other options include distributing your application to your customers as a container or using containers for web hosting if your web hosting provider supports this option.
In this article we will explain how you can package your PHPRunner application as a Docker container.
Docker Desktop installation
As a first step you need to install Docker Desktop on your local computer. Just download it from the official website and install keeping all default settings.
Once Docker Desktop is installed, launch it. Two main sections we are going to work with are Images and Containers.
A Docker image is a read-only template that contains everything needed to run an application, including the application’s code, system tools, and libraries. A Docker container is a running instance of a Docker image Think of an image as a blueprint and a container as the building constructed from that blueprint.
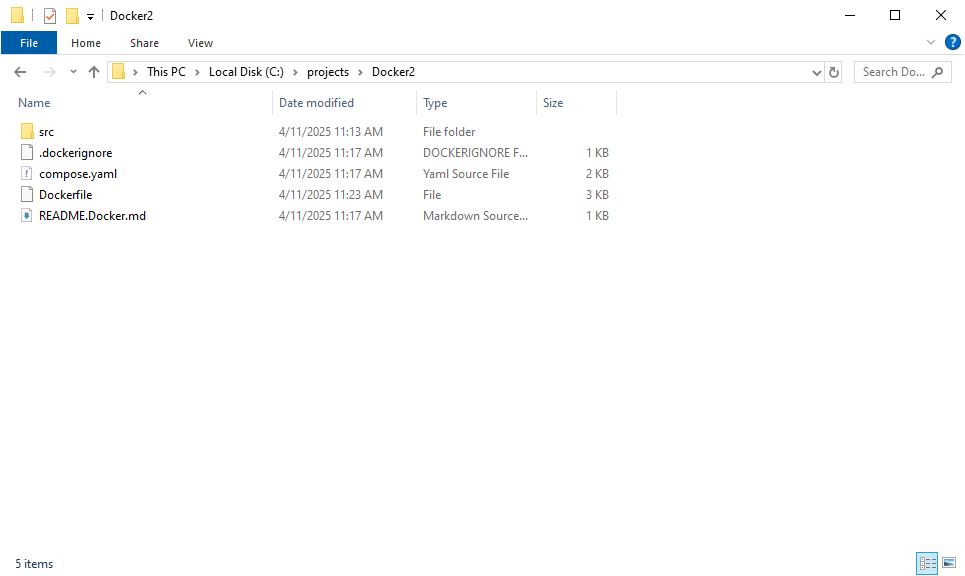
Project structure
Create a new folder for our Docker project i.e. C:\Project\Docker. Here is how the default Docker project looks like. src folder needs to be created manually and this is where all our PHP files will be stored. Luckily, we do not need to create the rest of file manually, Docker desktop can help us creating those.
Docker init
Start by opening a terminal ( click Terminal icon in the bottom right corner ). First, switch to your project folder and then run docker init command.
Docker will ask you a few questions about what you want to create. Select Apache+PHP web application. You can use up and down keyboard keys to change your selection. Press Enter to make a choice.
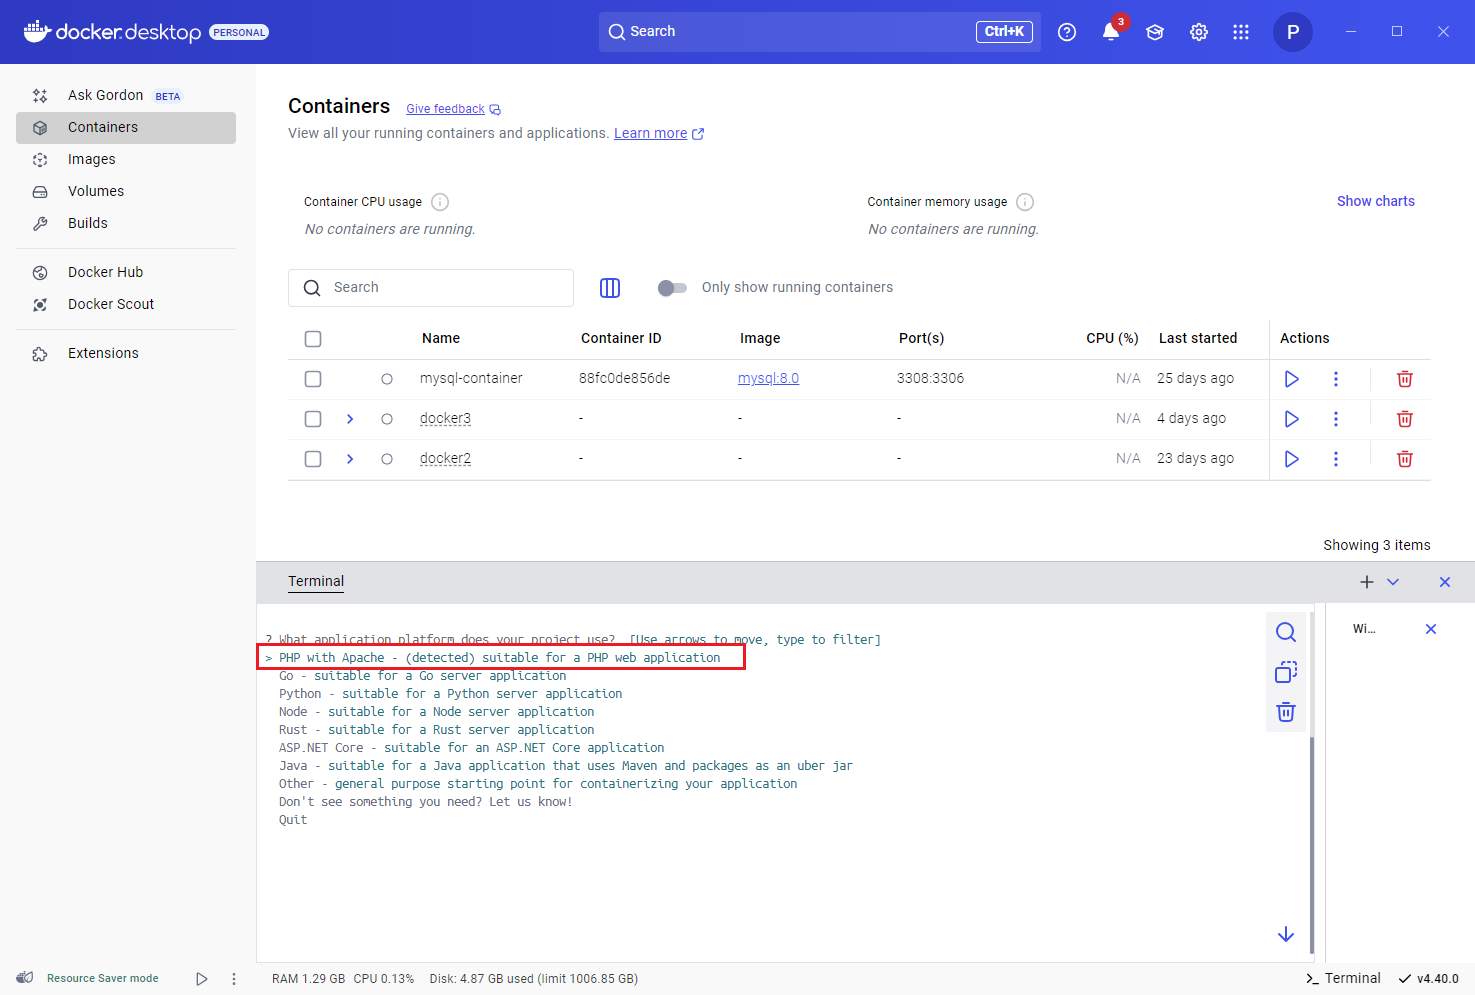
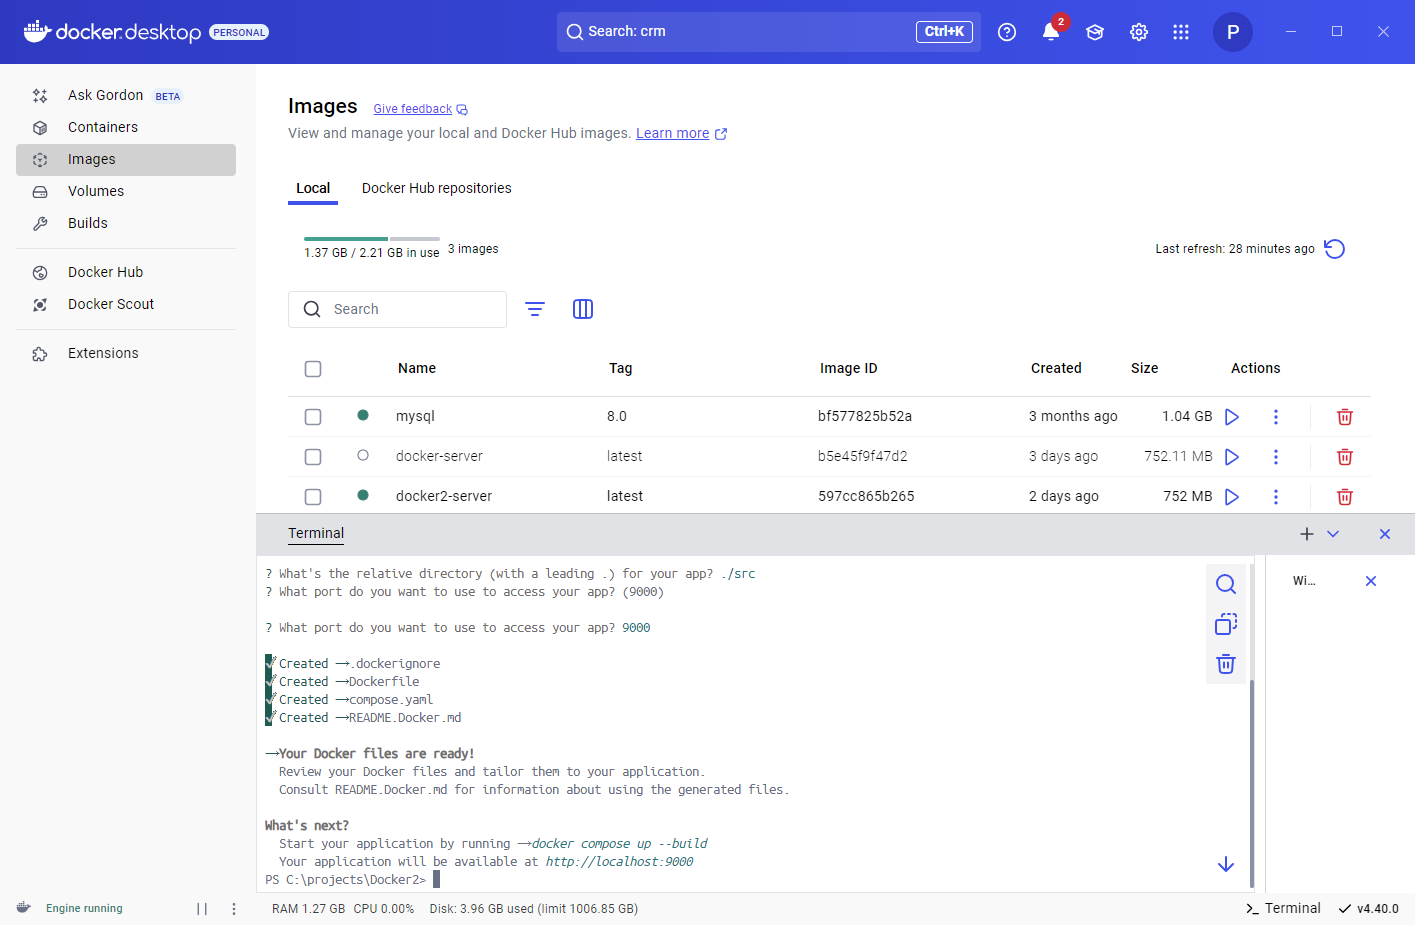
For all other questions leave default options. Docker will create an image for you, based on your selection. On Images tab you are now going to see a new image. Docker will also tell you that now you need to run docker compose up –build command in order to build and launch your container.
Dockerfile
This is how the initial dockerfile looks. I just removed some extra comments for brevity. Lets try to create a container and run it.
Build and first run
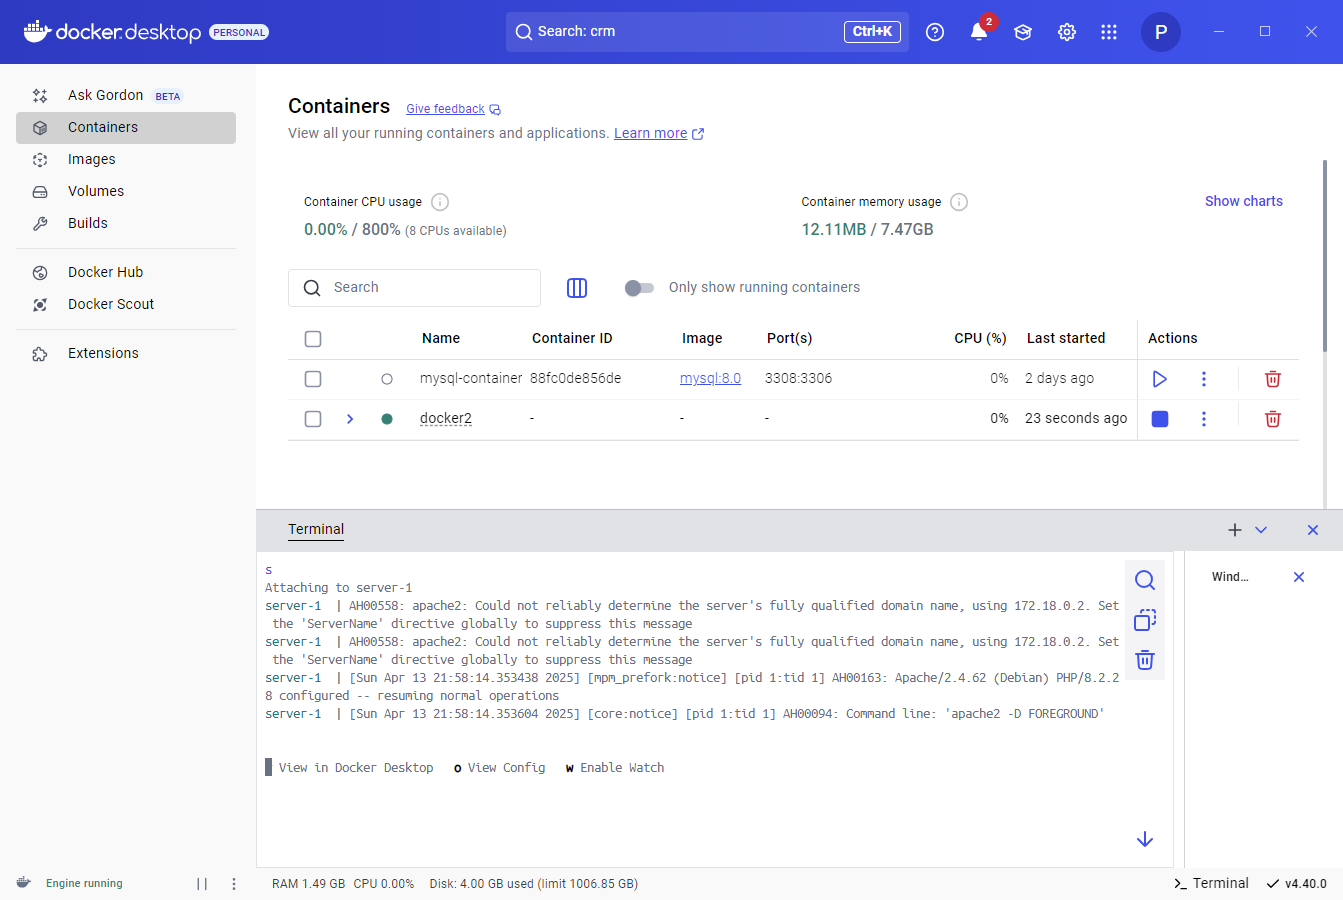
Without making any changes to dockerfile we go back to the terminal and run the suggested build command:
First build will take about a minute and consecutive will be a bit faster. Dcker performs the build and starts our container. You can see container’s status on Containers tab. You can see that our new container is up and running.
Which means we can can now open a web browser and type in the following URL: http://localhost:9000. This is what you are supposed to see:
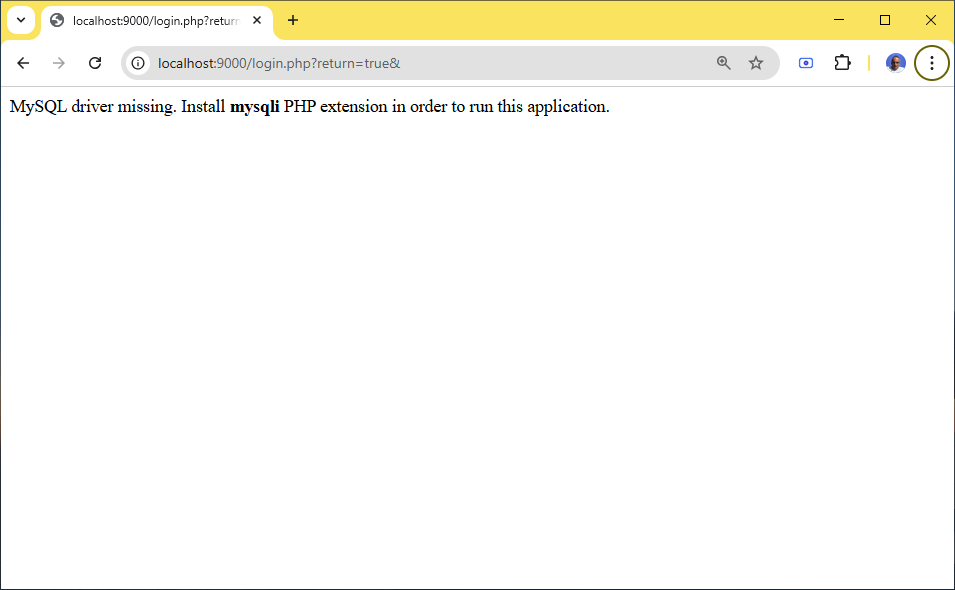
Good news: our container is in fact running.
Bad news: mysqli extension is missing and we cannot connect to MySQL.
Installing mysqli extension
Quick Google search for “docker php install mysqli” points us to the solution and we modify our dockerfile in any text editor adding lines 7 and 8.
Now we stop the container, run the build command again and once finished we refresh our browser window. This takes us one step further but we are not quite there yet.
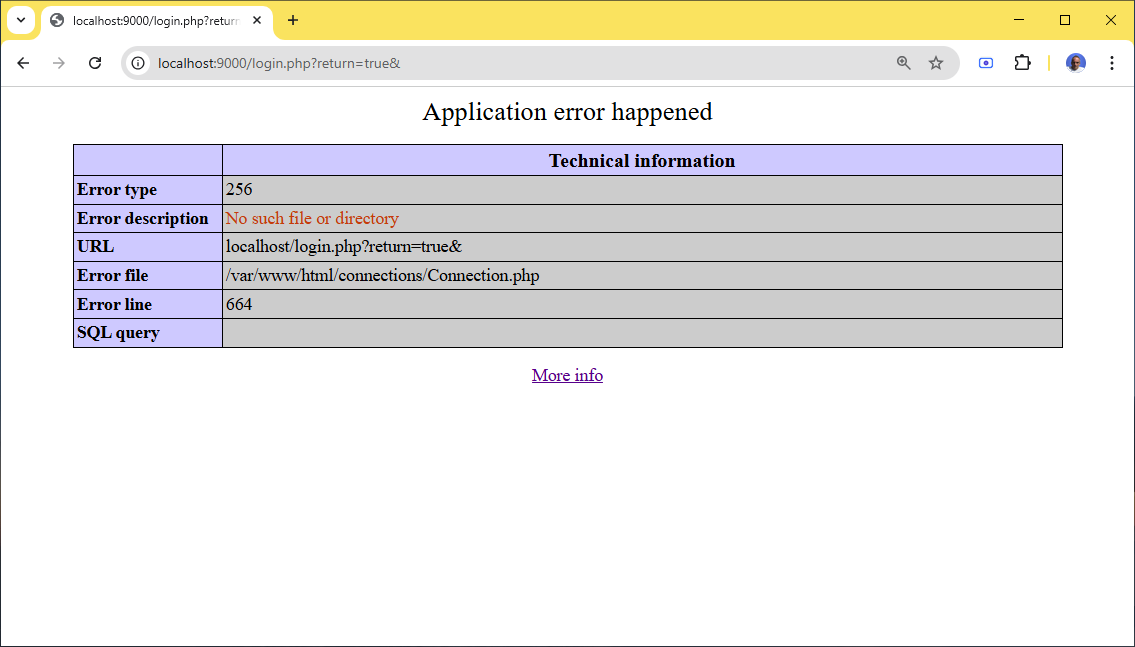
While this error is not very descriptive we can guess that our application is not able to connect to MySQL. We use “localhost” as MySQL server address which in case of the container refers to container itself. We need to find a way to connect to MySQL on the host which is our local computer running Docker desktop. Another quick Google search for “docker connect to host from container” points us to host.docker.internal which we need to use instead of localhost while connecting to MySQL.
We proceed to PHPRunner, create a new Server Database Connection on the ‘Output Directory’ screen and change the address of MySQL server as follows:
And one more try
1. Stop the container
2. Build PHPRunner project ( make sure that new connection is selected )
3. Copy all files from PHPRunner’s output folder to C:\Projects\Docker\src
4. Execute docker compose up –build command one more time.
5. Refresh browser’s window
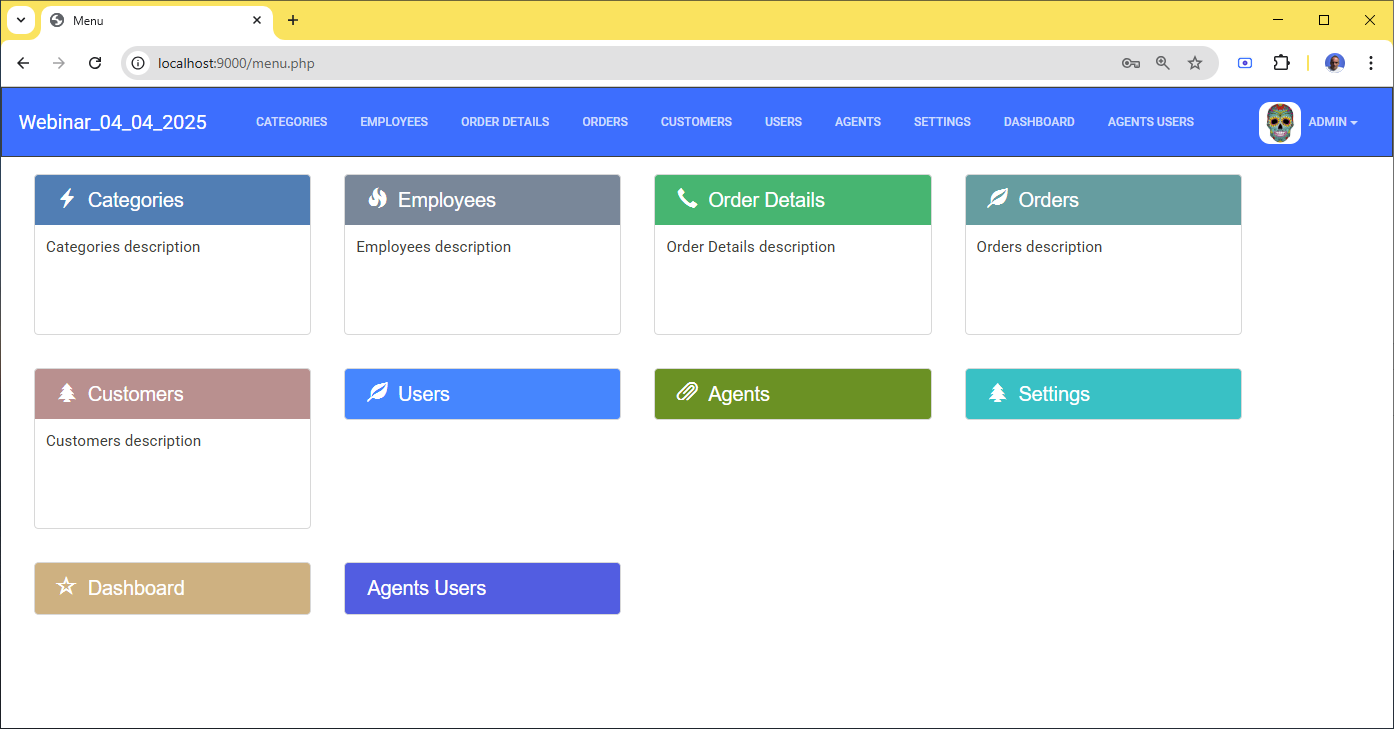
It runs!
Additional notes. You can make your container connect to any database. It can be a database that is a part of the same container ( though it is not recommended ), or a database running in another container or any external database server. All you need to do is to point the database connection to your database of choice.
This is brilliant thank you for the update!
¡¡¡¡¡ Fantastic !!!!!
This article gave me an idea to INSTALL PHPR on Unix. I think this could solve some Linux installations. In my case, I have Linux Mint with some years behind. I can’t upgrade it for several reasons. PHPR is compiled to use some Node.js modules compatibles only with GLIBC 2.38, wich is a requirement that can´t reach and very difficult to upgrade because it’s the HEART of Kernel.
I will try with Docker. ¡¡¡¡ Thanks !!!!