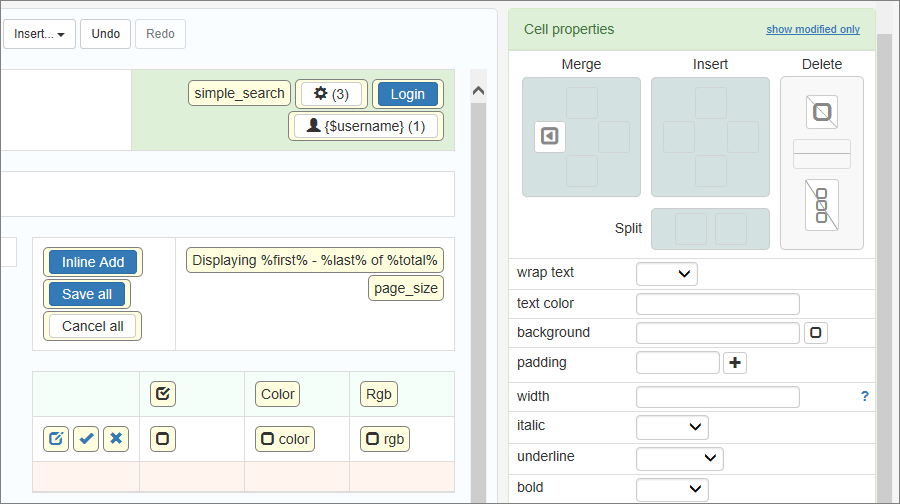
When you click on one of the cells in the Page Designer, you can see the Cell properties on the right-side panel. You can manage settings for the selected cell here.

Note: you can click on two or more cells while holding the CTRL button. In that case, the right-side panel shows only the common properties of all the selected cells. Click again on a single cell to disable multiple selection.
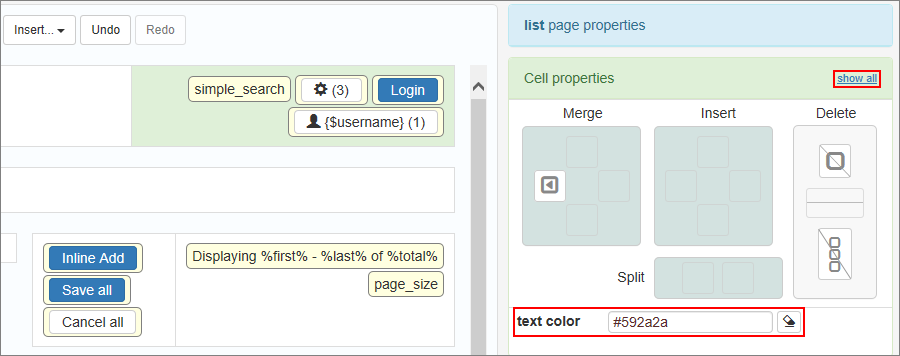
Click the 'Show modified only' link to see only the modified cell properties. Click 'Show all' to switch back to the default view.

Merging cells
If you need to merge cells, click on one of the cells to highlight it and make the Cell properties appear on the right panel. Now press one of the Merge direction buttons. Items within the merging elements are put into the resulting single cell.
Inserting cells
Click on the cell to show its properties. Press one of the Insert direction buttons to insert a new cell in the selected direction relative to the original.
Deleting cells
Click on the cell to show its properties. Press one of the Delete buttons to delete a single cell, the whole row or the whole column of cells.
Splitting cells
Click on the cell to show its properties. Press one of the Split buttons. You can split a cell vertically or horizontally.
Formatting cells
Click on the cell to show its properties. Use the formatting controls in the right-side panel to change the settings of the selected cell.
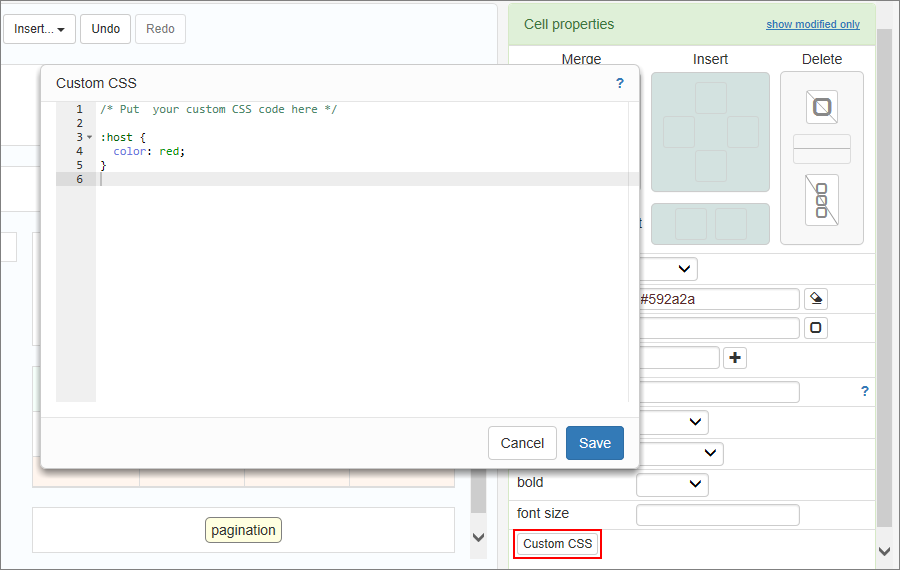
Press the Custom CSS button to open the Custom CSS window. You can add the CSS code to the cell.

Note: you can add custom CSS to multiple cells at once. Press CTRL and select multiple cells, then click the Custom CSS button to add the custom CSS code to the selected cells.
Learn more about Customizing CSS.
Page Designer articles:
•Working with additional pages
See also: