Quick jump |
After clicking on an element, you can see that it becomes highlighted in red and the right-side panel shows its properties with settings that can be changed. You can also create a copy of an element or remove it. Additionally, you can change the View As / Edit As / Filter As settings for the element. To do this, press the View As/Edit As button.
Note: to learn more about View As / Edit As / Filter As settings, see "View as" settings, "Edit as" settings, "Filter as" settings.
Press Show modified only link in the header of the properties to only see the modified element properties. Press Show all to switch back to the default view. You can drag and drop an element from one cell to another when you want to change its default position. Alternatively, move the elements within the grid to re-order them.
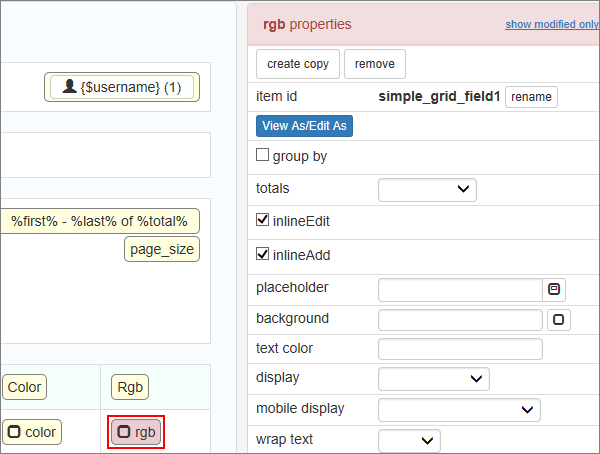
Different types of elements on the page have different properties. Simple page elements like logo, menu, and simple search only have their ID, formatting options, and Custom CSS.
Buttons have some additional properties like label, icon, button style, and size.
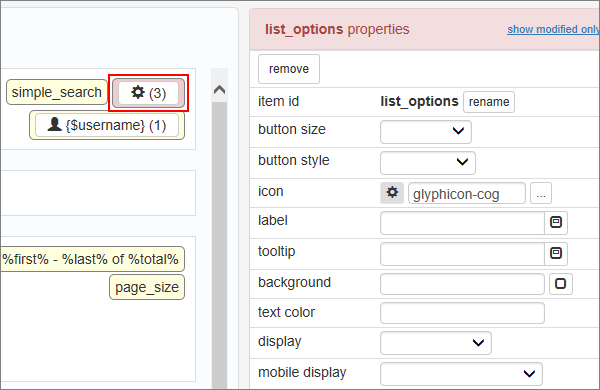
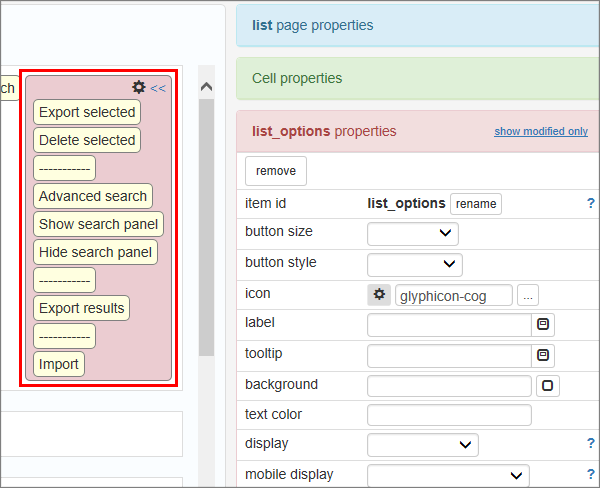
Some of the page elements, like the one on the picture above, are groups of predefined simple elements. They have values in brackets, like "search_panel(2)" or "print_panel(4)". These numbers show how many sub-elements there are inside of the group. You can change settings for the whole group or for one of the elements inside that group.
Elements on the menu page have some specific properties.
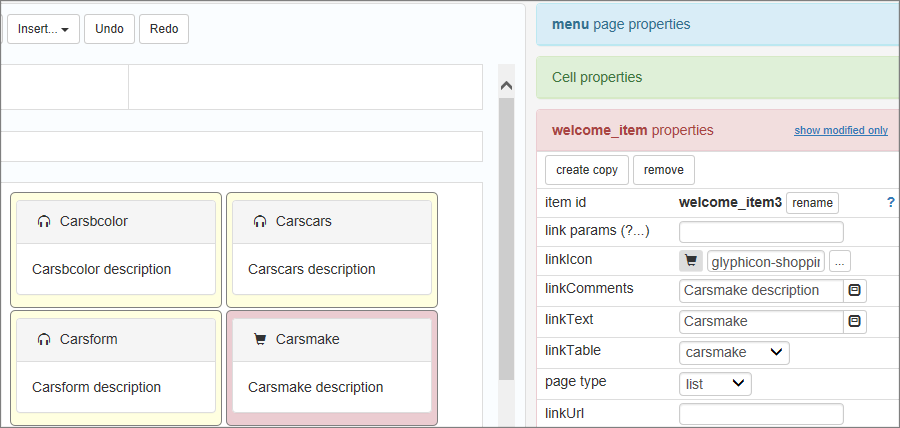
You can group/ungroup menu items if you need, change the link text, comments, and other options.
Database fields are also elements. To change the fields order on a specific page, drag the field element to the new place.
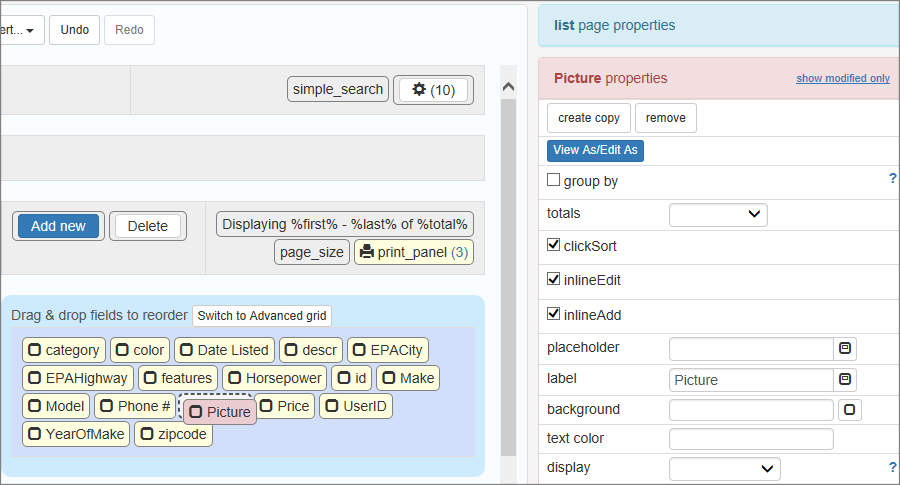
Database fields have special settings like a tooltip, placeholder, Inline Add/Edit checkboxes. Changes in Inline Add/Edit made in the Page Designer automatically apply to the Choose fields screen.
To change the Inline Add/Edit options, click on the element in the grid, and then use the controls that appear to the right. You can also access View As/Edit As settings and choose one of the calculated Totals from the dropdown on the right panel of a Database field element.
The Database fields also have the hide if empty option. You can select this checkbox to hide a field column or field labels if the respective field is empty. Press the ? button to learn more.

Group By property
If you select Group By check box records will be ordered by this field value. Besides, repeating values of the group field will be hidden. It is natural to display group fields on the left side of the grid (for left-to-right languages).

This is how it looks in the web browser:
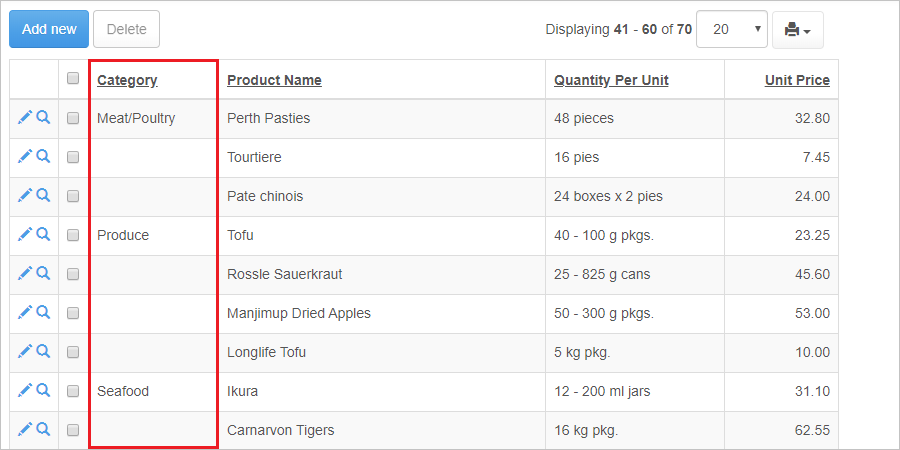
You can also specify multiple group fields. Data will be sorted by the order those group by fields appear in the grid, from left to right for LTR languages.
Link to details tables
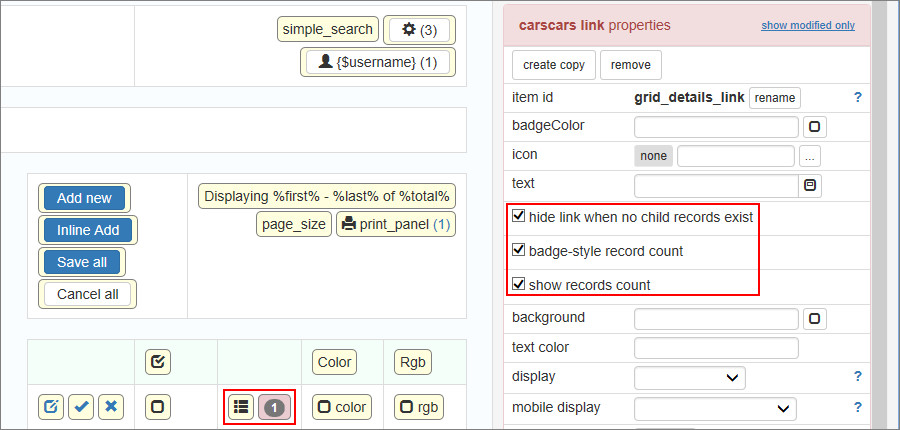
Details icons in the Advanced grid mode have additional options: "show records count", "badge-style record count" and "hide link when no child record exists".
Restoring deleted page elements
If you accidentally removed the menu or some other "essential" element from the page, you have two ways to restore it.
1.Create a new page of the same type and make it a default page. It works similar to a 'Reset' function in older versions and gives you a brand new page. This option is not ideal if you have already applied a bunch of customizations to the page.
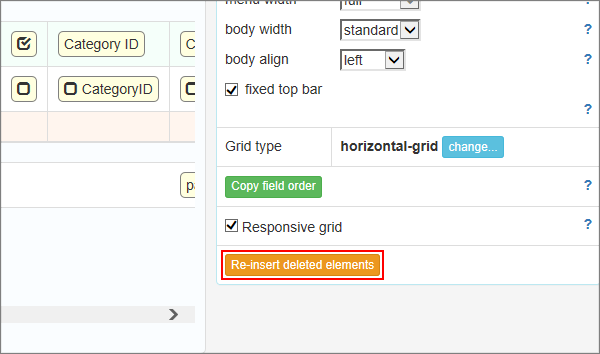
2.You can check the Page properties (or click outside of any page elements) and see the Re-insert deleted elements button appear. By clicking this button, you restore "essential" page elements like menu or breadcrumbs, while keeping your customization intact.
Changing Edit control and Column width
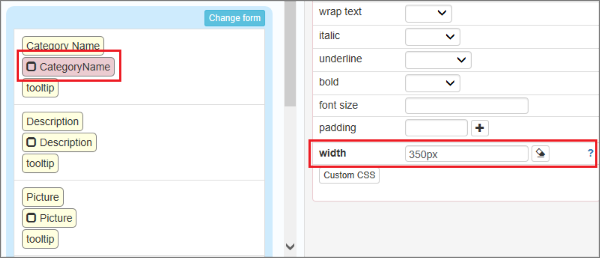
To change Edit control width on Add/Edit page, proceed to that page in Page Designer, and under Form Layout choose "separate labels and controls". Then you can modify settings of control and its label separately. Make edit control selected in Page Designer and set its width in pixels on the right side.
To change Inline edit control width, go to the chosen List page and switch the grid to the Advanced grid mode. Select the field itself and set its width in pixels on the right. The field width applies to the List mode and the Inline Edit control.
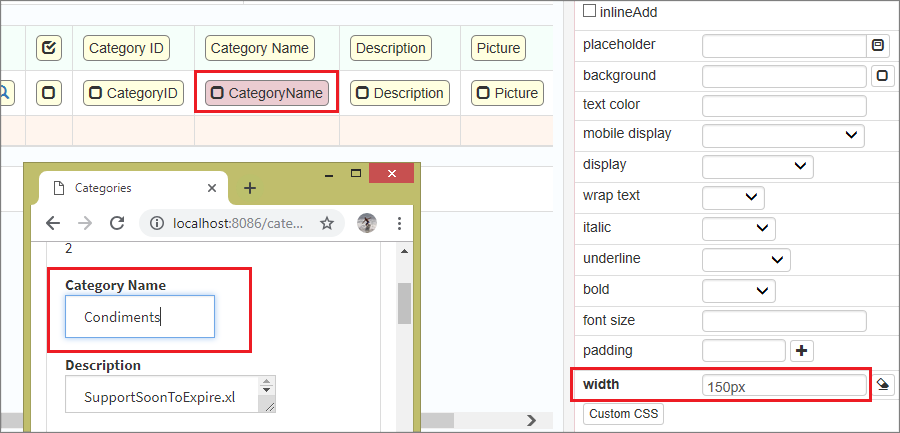
You can change the Column width in Advanced grid mode as well. To do so, select a column and set the width in pixels using width setting on the right.
You can add totals calculation to some fields on the List/Print pages. Totals calculation is available with Simple horizontal and Advanced horizontal Grid type.
You can choose between TOTAL, AVERAGE, and COUNT aggregate functions. Select the field you want to add totals calculation to and in the properties on the right, choose the function type from the totals dropdown box.
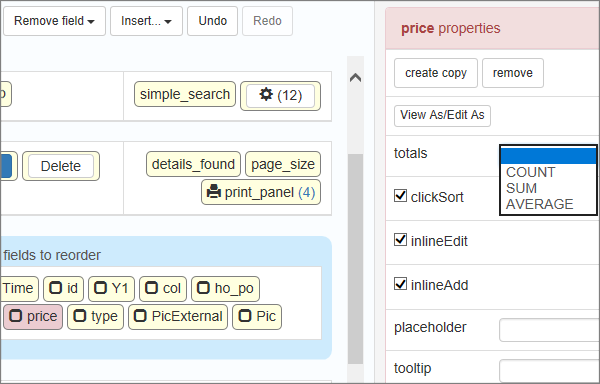
Another way of adding totals for the fields is to click on the totals button in the list or print page properties. You can choose totals functions for several fields at once there.

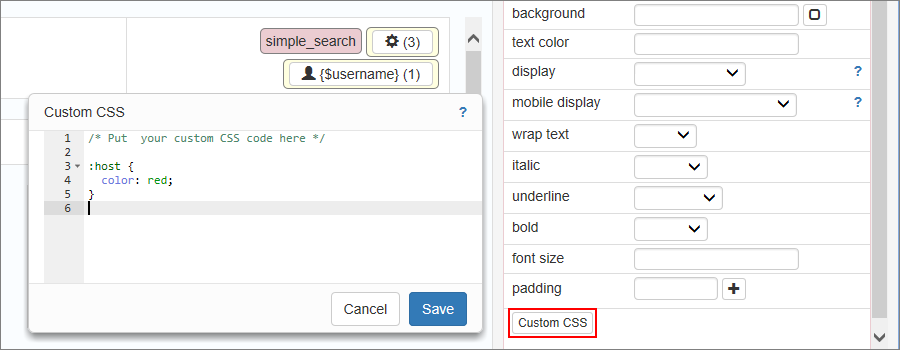
Press the Custom CSS button to open the popup window. You can add the CSS code to the element here. See more about Customizing CSS.
When you have an object like database field selected in the Page Designer, you can choose to change its properties on the right side panel. You can choose its font selecting one of the predefined fonts from font family dropdown box. You can also click 'A' button next to this dropdown box to open the Font Manager.
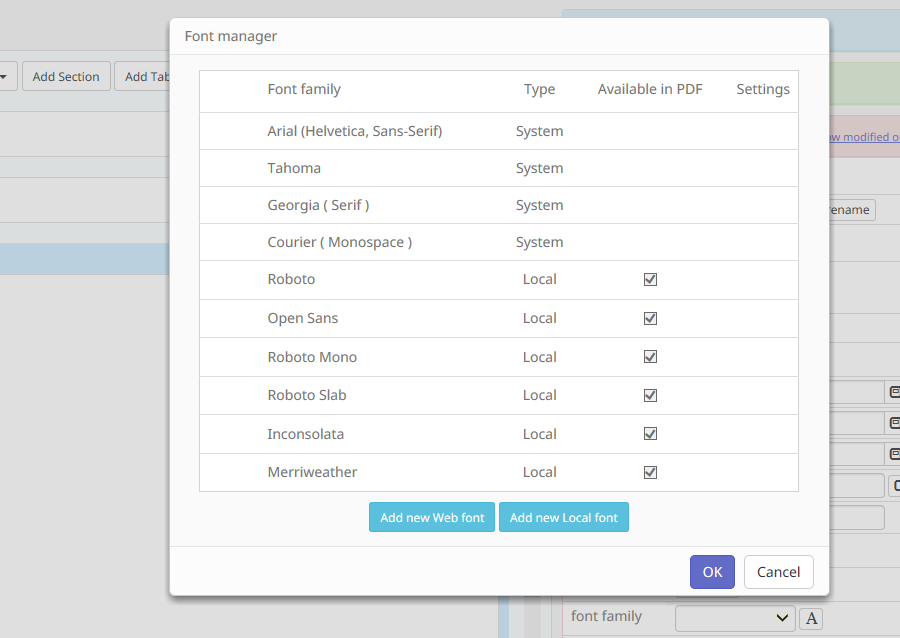
Using Font Manager you can add new fonts, local and web fonts. Also you can choose which local fonts will be included in PDF export.
Page Designer articles:
•Working with additional pages
See also: