Quick jump |
ASPRunner.NET supports the following databases: MySQL, Oracle, Microsoft SQL Server, MS Access, PostgreSQL, Spreadsheet File, Informix, DB2, SQLite, SQL Server Compact, and any ODBC-enabled databases.
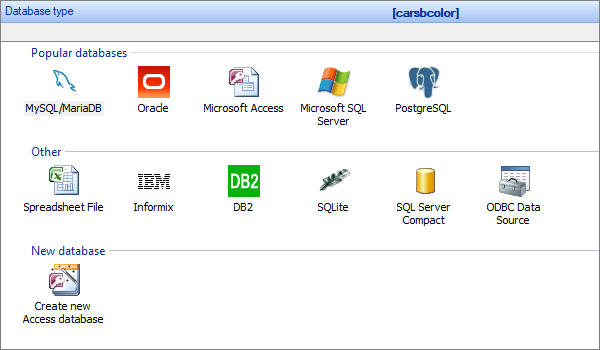
Select the database type and press Next>>. Depending on the selected database type, one of the database-specific dialog boxes shown below appears on the screen.
Note: use Recent connections to connect to the previously opened databases quickly.
After successfully connecting to the database, you can select the datasource tables.
Type in the Host/Server Name (usually - localhost), username, password, and click Connect. See Internet Information Services (IIS) to learn more about installing a local web server.
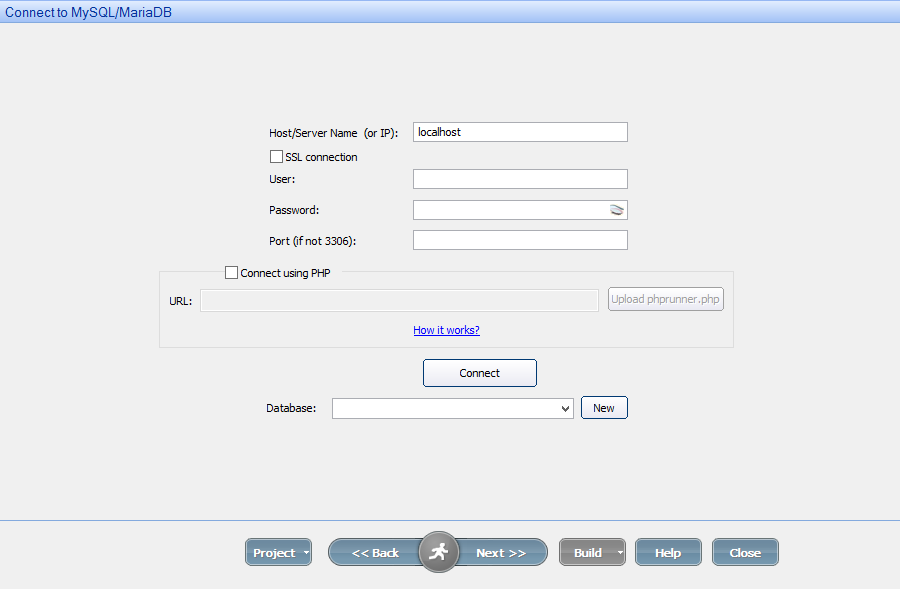
Select the database and click Next >>.
Type in the Host/Server Name (usually - localhost), user name, password, set the additional parameters if required (use space as the delimiter, e.g., key1=value1 key2=value2), and click Connect.
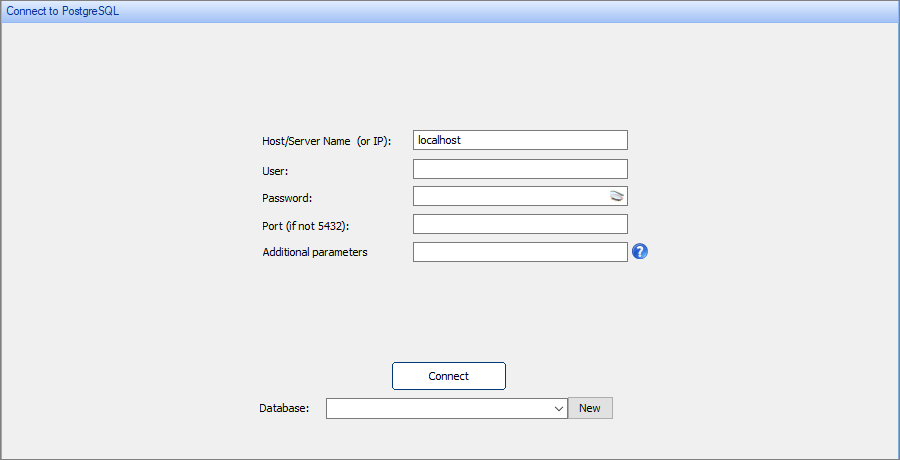
Select the Database and click Next >>.
Connecting to Oracle, Microsoft SQL Server, Informix, DB2
Type in the Host/Server name, Database Name, username, password, and click Connect.
Connecting to MS Access, spreadsheet file, SQLite
Choose the Spreadsheet File option to select an Excel, FoxPro, DBase, Paradox, or text database file.
Define the file path to your database/spreadsheet file, enter the login and password if required. Click Next >>.
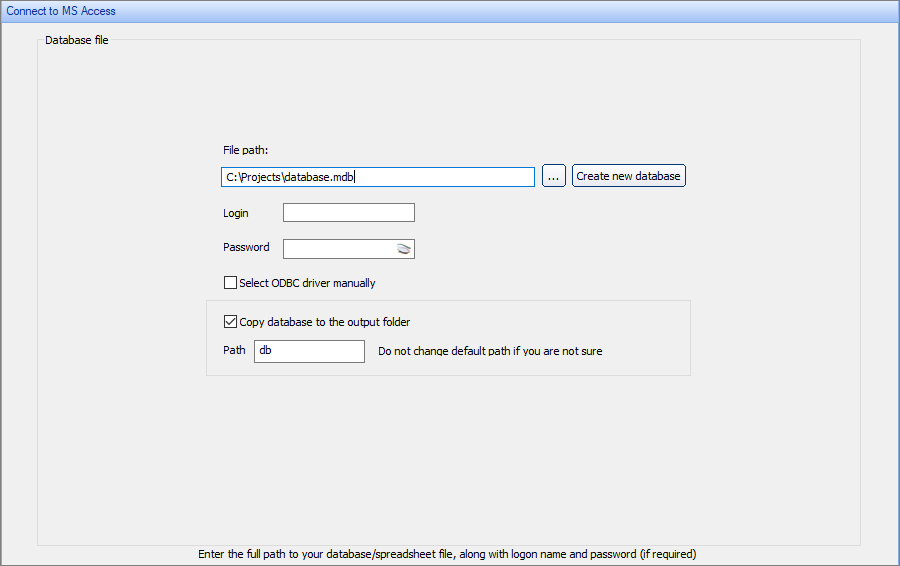
ASPRunner.NET tries to find which ODBC driver to use to connect to the selected database file. Select the Select ODBC driver manually checkbox if you'd like to select the ODBC driver manually.
To learn more about connecting to MS Access, see Connecting to MS Access database.
Connecting to ODBC Data Source
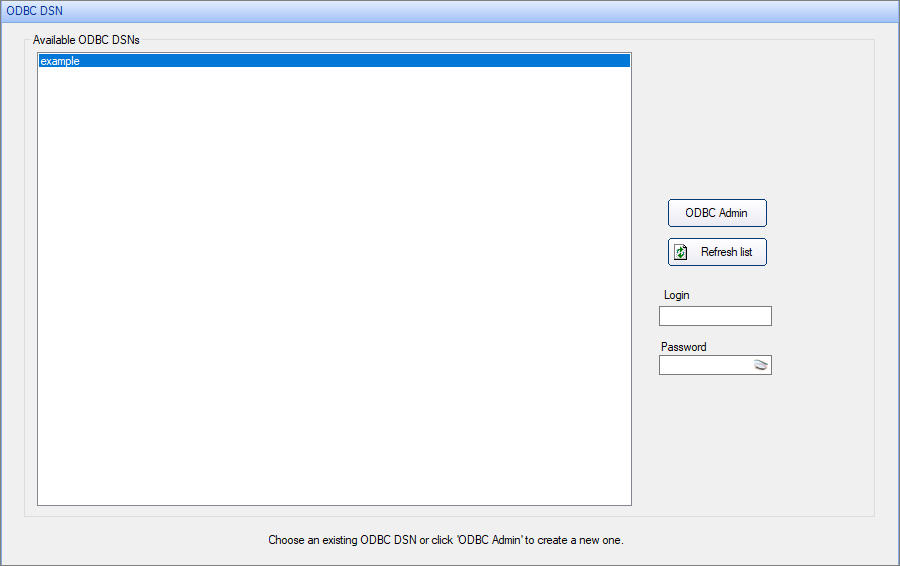
If you already have an ODBC Data Source Name (DSN) associated with your database, select ODBC DSN from the list box. Enter the Login and Password if required. Press Next>> to continue.
To create a new DSN, press the ODBC Admin button. Add a new DSN in the popup, then click Refresh list.
Connecting through ODBC driver dialog
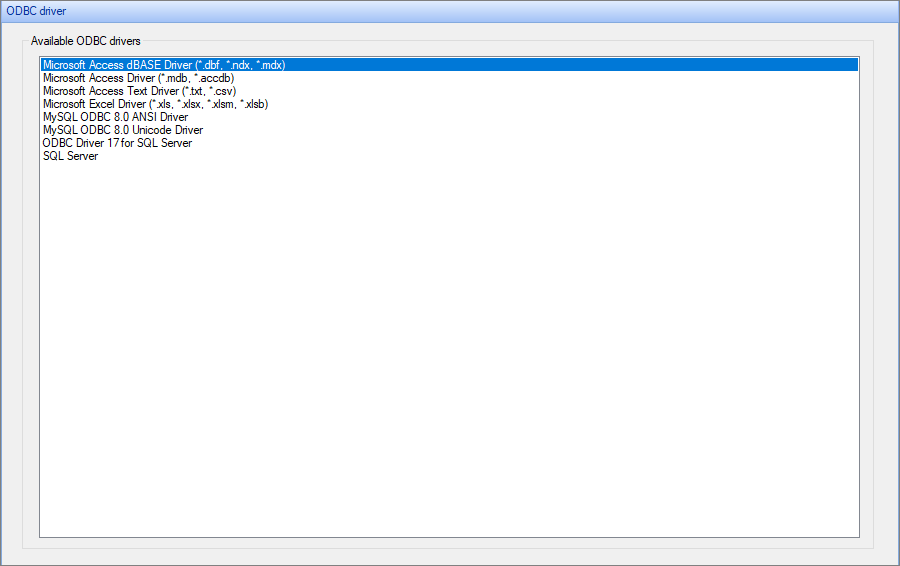
Choose this option to connect directly through the ODBC driver dialog.
Select ODBC Driver from the list box, pick the necessary driver from the list of available drivers, and click Next>>.
Create a new MS Access database
If you do not have a database yet, choose this option and click Next>>. ASPRunner.NET creates a new empty MS Access database with this option.
Use the Create new table window to create new tables in your database.
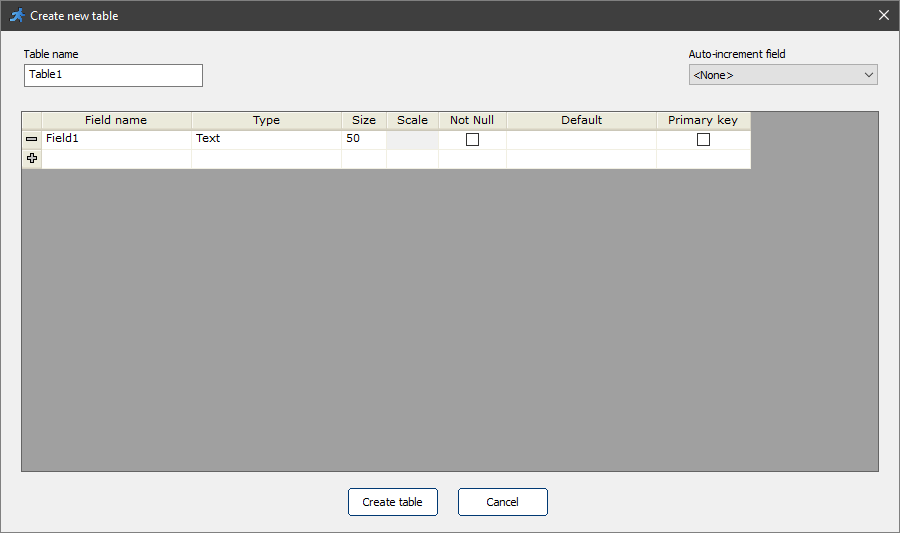
Type in the name, type, size, scale (applies to the DECIMAL field type in SQL Server, Oracle and MySQL only) for each field. Set the Primary key field.
Databases created with ASPRunner.NET are saved to the project directory.
Note: don't change the database settings after you've built your project and added records into the database. All data will be lost after the database settings modification.
•Oracle - Download link (requires an Oracle account).
•Informix - Download link (requires an IBM account).
•DB2:
- version 9.7 - Download link;
- version 10.1 - Download link;
- version 10.5 - Download link.
See also:
•How to install Internet Information Services
•Working with MS Access databases
•Working with Oracle databases
•Open Database Connectivity (ODBC)
•All about the history of SQL Server