Quick jump |
To add a button to a web page:
1.Proceed to the Page Designer and select a page you wish to modify.
2.Click Insert - Custom button on the main toolbar.
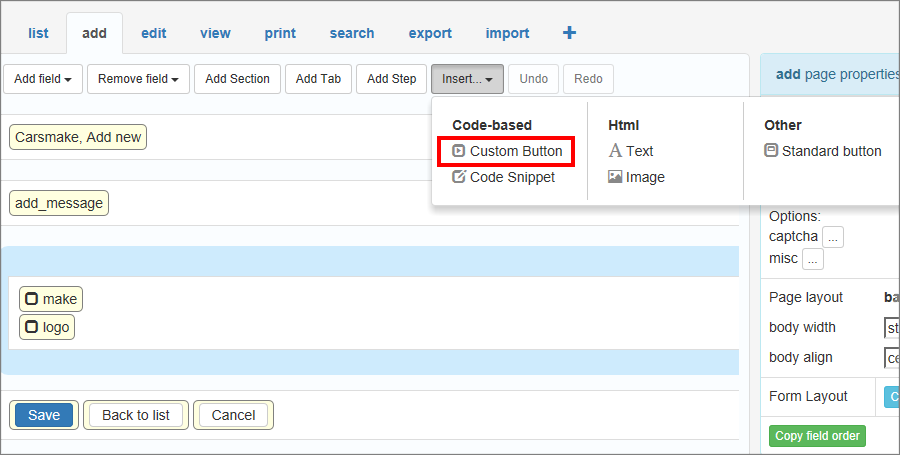
3. Choose New button.
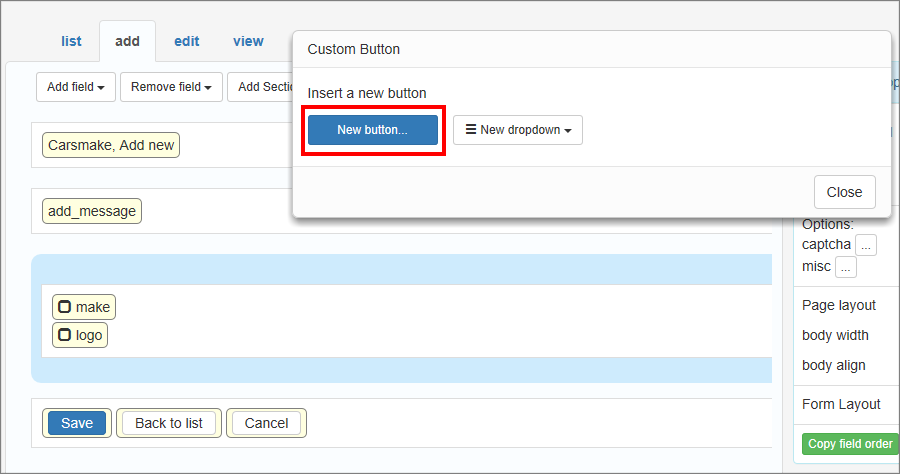
Note: The already added custom buttons appear in the Insert -> Custom button window, so that you can re-use them. Any changes in the button code are made in the copies as well.
4. Type in the button caption and insert the code to be executed after the button is pressed.

Note: Custom buttons utilize the Tri-part event system, that consists of three parts: Client Before, Server, Client After.
The Client Before part runs JavaScript code in the browser, then passes parameters to the Server part that runs PHP code, and then back to the browser to run the JavaScript code of the Client After part.
To learn more about these types of events, see Tri-part events.
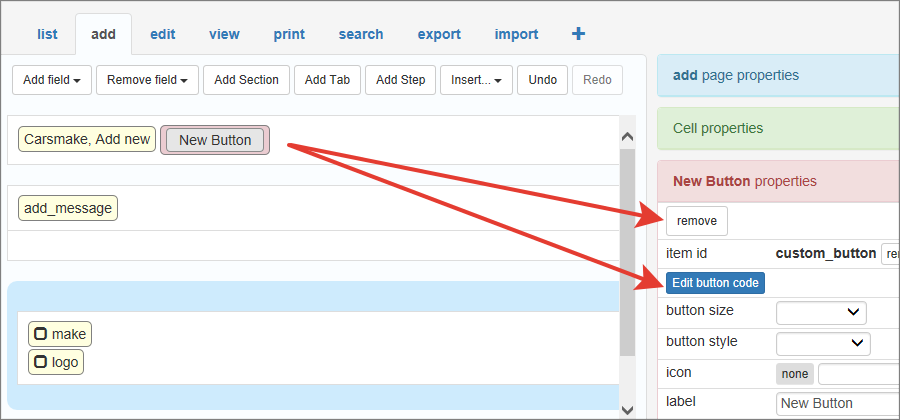
5. Now the button is added to your web page. You can drag the button to change its location.
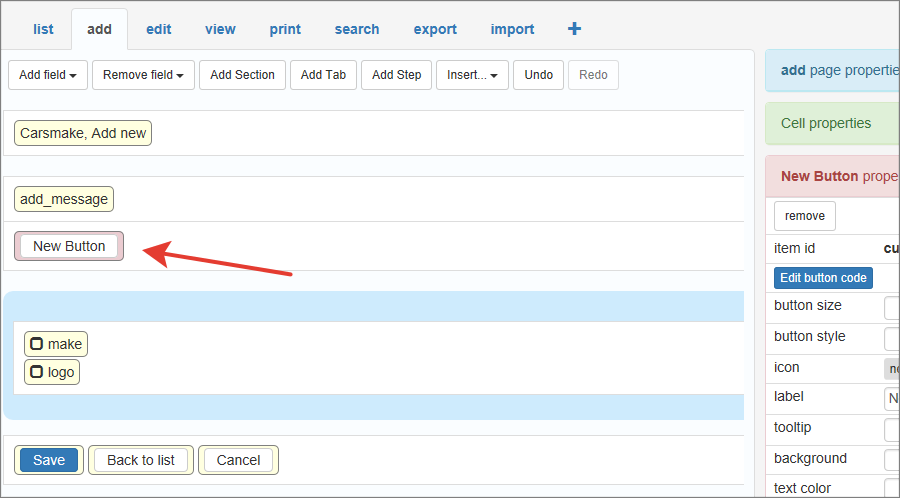
To edit the code, click Edit button code in Properties. You may also edit the code on the Events page. To delete the button, click Remove in Properties.
Here is how different button styles look in generated application.

To make a button look like an icon select "link" button style, select an icon and clear the button label. The result will look like a printer icon above.
The container is a specific dropdown element in which you can insert other elements using drag-n-drop.
To insert a new container, do Insert -> Custom button -> New dropdown, then drag-n-drop it to any place you want.
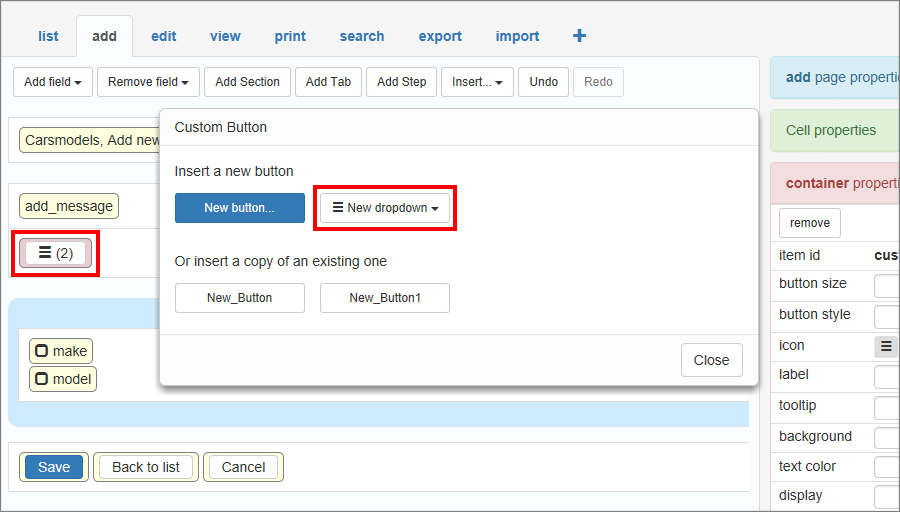
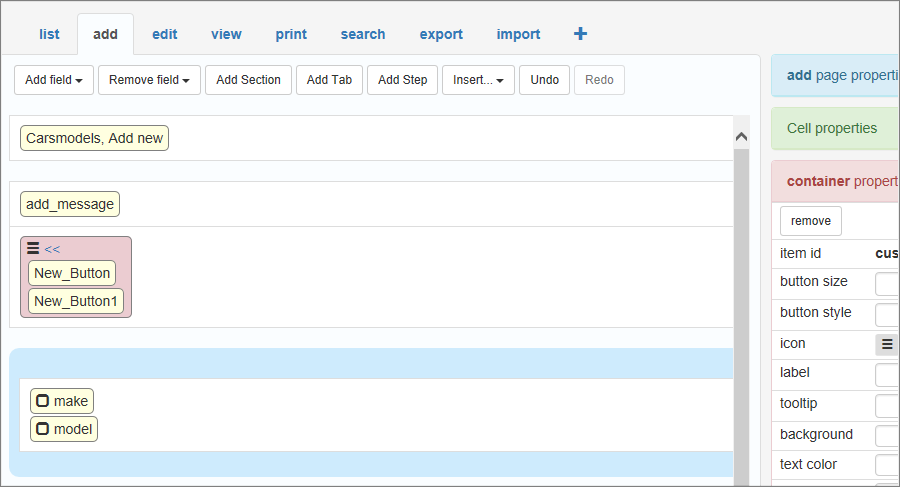
You can see the number of elements within the container in the brackets next to it. Click this number to view the elements.
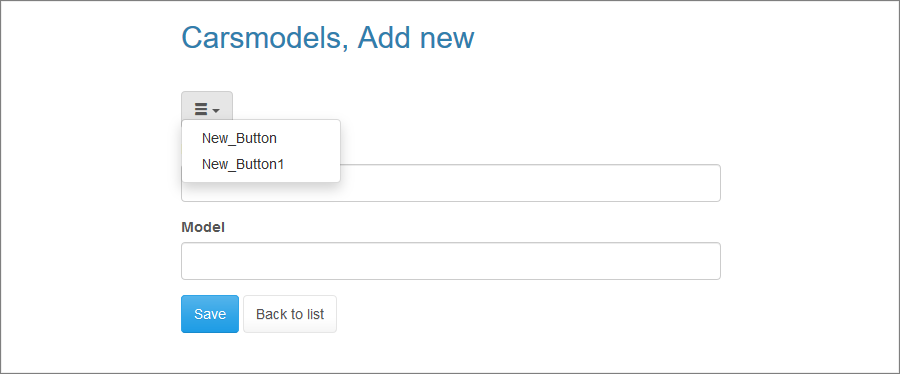
The result looks like this:
You can insert a button into a data table to make it apply to each data record on a web page.
Switch to Advanced Grid first. Then do Insert -> Custom Button -> New Button. Then drag-n-drop the button to the grid or anywhere where it needs to appear.
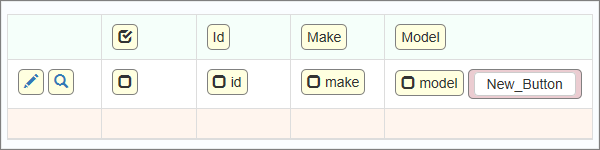
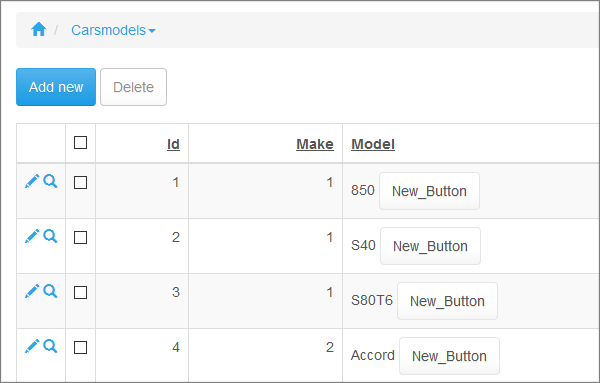
Note: a button inserted into a datagrid works only if you select a key field for the table on the Choose pages screen.
You can use the rowData and $button objects to program buttons inserted into a grid.
Select the button and click the '?' within the Item ID section on the right. It shows code examples of how to hide/show the button conditionally both on the server side and client side in PHP and JavaScript.
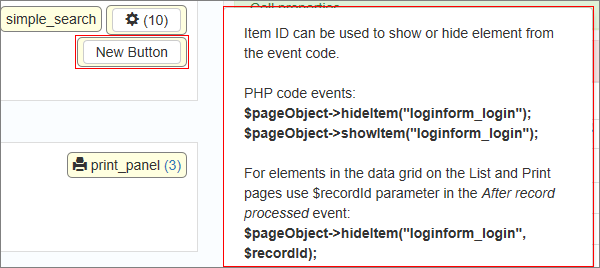
Note: code examples in PHPRunner already use correct Item ID, so you can copy and paste them to your code.
Use the following code to show or hide the items:
1) To hide the item insert this code into the Server event:
$pageObject->hideItem("loginform_login");
2) To show the item insert this code into the Server event:
$pageObject->showItem("loginform_login");
3) For elements in the data grid on the List and Print pages, use the $recordId parameter in the After record processed event:
$pageObject->hideItem("loginform_login", $recordId);
In JavaScript events, use the toggleItem function to show or hide elements:
pageObj.toggleItem("loginform_login", true );
//or
pageObj.toggleItem("loginform_login", false );
Use the following code for elements in the grid:
pageObj.toggleItem("loginform_login", true, recordId );
The recordId can be obtained:
•with row.id() in Click actions;
•in the Custom button code when the button is inserted into the grid;
•with pageObj.id in Field events;
•with JS: Onload events from Inline Add and Edit.
It's essential that a functional Tri-part event is able to pass data between its parts. For example, the Client Before part receives input from the user, passes it to the Server event. The latter runs some database queries using the data and passes the results to Client after, which shows the results to the user.
Two objects serve as links between the three parts of the event:
•params object passes data from the Client Before to the Server event.
•result object passes data from the Server to the Client After event.
Mind the syntax difference between the Client and the Server events. The Client code is JavaScript, and the Server code is PHP.
The key names, users, and variables are up to you. You can choose any names here.
You can also pass arrays and objects this way:
ClientBefore:
params["data"] = {
firstname: 'Luke',
lastname: 'Skywalker'
};
Server:
do_something( $params["data"]["firstname"] );
Example 1. Inserting an "Add this product to shopping cart" button
For the Edit/View pages, the $keys parameter in the Server event contains the information about the current record. You may use $keys["KeyFieldName"] to access a specific key column.
For example, there is a Products table. To insert an Add this product to shopping cart button on the View page, add the following code to the Server event:
global $dal;
$record = $button->getCurrentRecord();
if ($record["ProductID"])
{
//add new records to the ShoppingCart table
//save current username in the UserID field
$ShoppingCart = $dal->Table("ShoppingCart");
$ShoppingCart->Product = $record["ProductID"];
$ShoppingCart->Quantity = 1;
$ShoppingCart->UserID = $_SESSION["UserID"];
$ShoppingCart->Add();
}
$result["txt"] = "Product was added";
and this code to the Client After event:
var message = result["txt"] + ".";
Example 2. Send records selected on the List page via email
To send records selected on the List page via email, add the following code to the Server event:
$email_msg = "";
$email_msg.= "List of records";
$i=1;
while($data = $button->getNextSelectedRecord())
{
$email_msg.= "Record: ".($i++)."\r\n";
$email_msg.= "Make: ".$data["make"]."\r\n";
$email_msg.= "Qwerty: ".$data["qwerty"]."\r\n";
$email_msg.= "\r\n";
}
//send email
$email = "test@test.com";
$subject = "Sample subject";
runner_mail(array('to' => $email, 'subject' => $subject, 'body' => $email_msg));
For more information, see getNextSelectedRecord().
Example 3. Modifying the value of a field for all selected records on the List page
To modify the value of a field for all selected records on the List page, add the following code to the Server event:
while($record = $button->getNextSelectedRecord())
{
$sql = "update Invoices set Status='Paid' where InvoiceID=" .$record["InvoiceID"];
DB::Exec($sql);
}
Example 4. Inserting a button redirecting to another page
To make a button redirect to another page, add the following code to the Client Before event or Client After event:
location.href="https://cnn.com";
Example 5. Showing a message to the customer for a limited time
Let's say you have a button that retrieves a piece of sensitive info from the server that needs to be shown to the customer for a short time. After that, the message needs to be hidden. To do this, add the following code to the Client After event:
// this message includes the SSN retrieved from the server
var message = result["txt"];
ctrl.setMessage(message);
// clear the message after 5 seconds
setTimeout(function(ctrl)
{
ctrl.setMessage("");
}
, 5000);
Example 6
Let's say you want to add a button to the View page that redirects to one of the application pages, depending on the value of the Category field. To do so, you may add this code to the Server event:
// get the value of the current record and pass it to the ClientAfter event
$result["record"] = $button->getCurrentRecord();
and this code to the Client After event:
if (result.record["Category"]=='Schools')
location.href="Schools_list.php";
else if (result.record["Category"]=='Organisations')
location.href="Organisations_list.php";
else if (result.record["Category"]=='Careers')
location.href="Careers_list.php";
For more information, see getCurrentRecord().
Example 7
To refresh the page, add the following code to the Client After event:
location.reload();
Page Designer articles:
•Working with additional pages
See also:
•JavaScript API: RunnerPage object > toggleItem()
•Button object: getCurrentRecord()
•Button object: getNextSelectedRecord()
•JavaScript API: AJAX helper object > submit()