File upload to Amazon S3
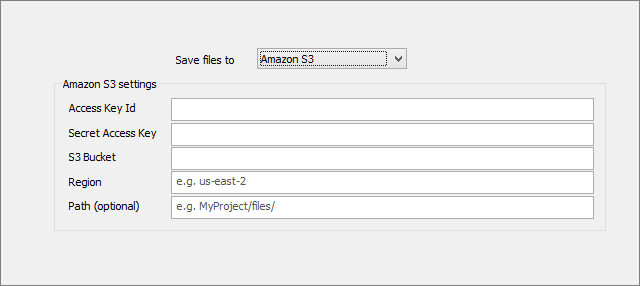
This article show how to configure ASPRunnerPro to upload files to Amazon S3 cloud storage.
Configuration

You need to specify Access Key ID, Secret Access Key, S3 Bucket name, Region and optional path.
1. Logon to AWS Console as a root user.
2. In the navigation bar on the upper right, choose your account name or number and then choose My Security Credentials.
3. Expand the Access keys (access key ID and secret access key) section.
4. To create an access key, choose Create New Access Key. If you already have two access keys, this button is disabled and you must delete an access key before you can create a new one. When prompted, choose either Show Access Key or Download Key File. This is your only opportunity to save your secret access key. After you've saved your secret access key in a secure location, choose Close.
5. Go back to the account home page, select S3 from the list of Services. Create a new bucket or select an existing one. This is where you can see the Bucket Name and Region.
6. Important: in bucket properties, under Permissions, scroll down to Cross-origin resource sharing (CORS) and paste the following JSON there. It is required for Amazon S3 Javascript library to work.
[
{
"AllowedHeaders": [
"*"
],
"AllowedMethods": [
"HEAD",
"GET",
"PUT",
"POST",
"DELETE"
],
"AllowedOrigins": [
"*"
],
"ExposeHeaders": [
"ETag"
]
}
]