1. Copy all files from ASPRunner.NET Output folder to one of the folders under IIS.
2. If you copied your application to your website root folder, you are ready to go. Open http://localhost (if you use a local IIS server) or https://yourwebsite.com (if you use a remote web server) in the web browser.
3. If you copied your web application to one of the subfolders, i.e., project1, there is one extra step.
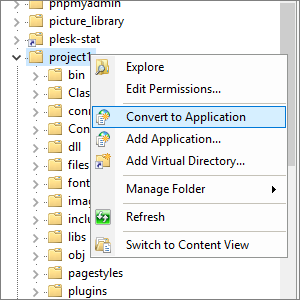
Open IIS manager, expand your website, right-click on the folder where you uploaded your web application, and choose Convert to Application.
Keep everything default and click OK. Now you can open the app in the web browser as http://localhost/project1 (if you use a local IIS server) or as https://yourwebsite.com/project1 (if you use a remote web server).
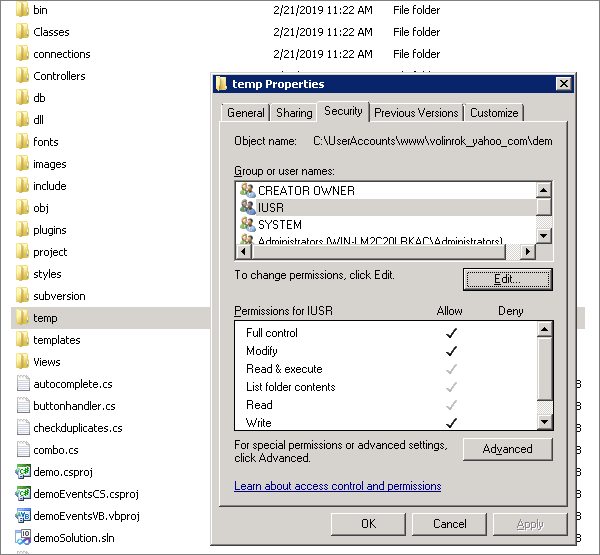
4. Most of the times converting folder to application set correct permissions automatically but if it doesn't you need to set write permissions on temp folder for IIS user.
See also:
•How to install Internet Information Services
•Configuring ASP.NET apps using Web.config
•Upload web applications using a third-party FTP client
•Running web applications on Microsoft Azure